
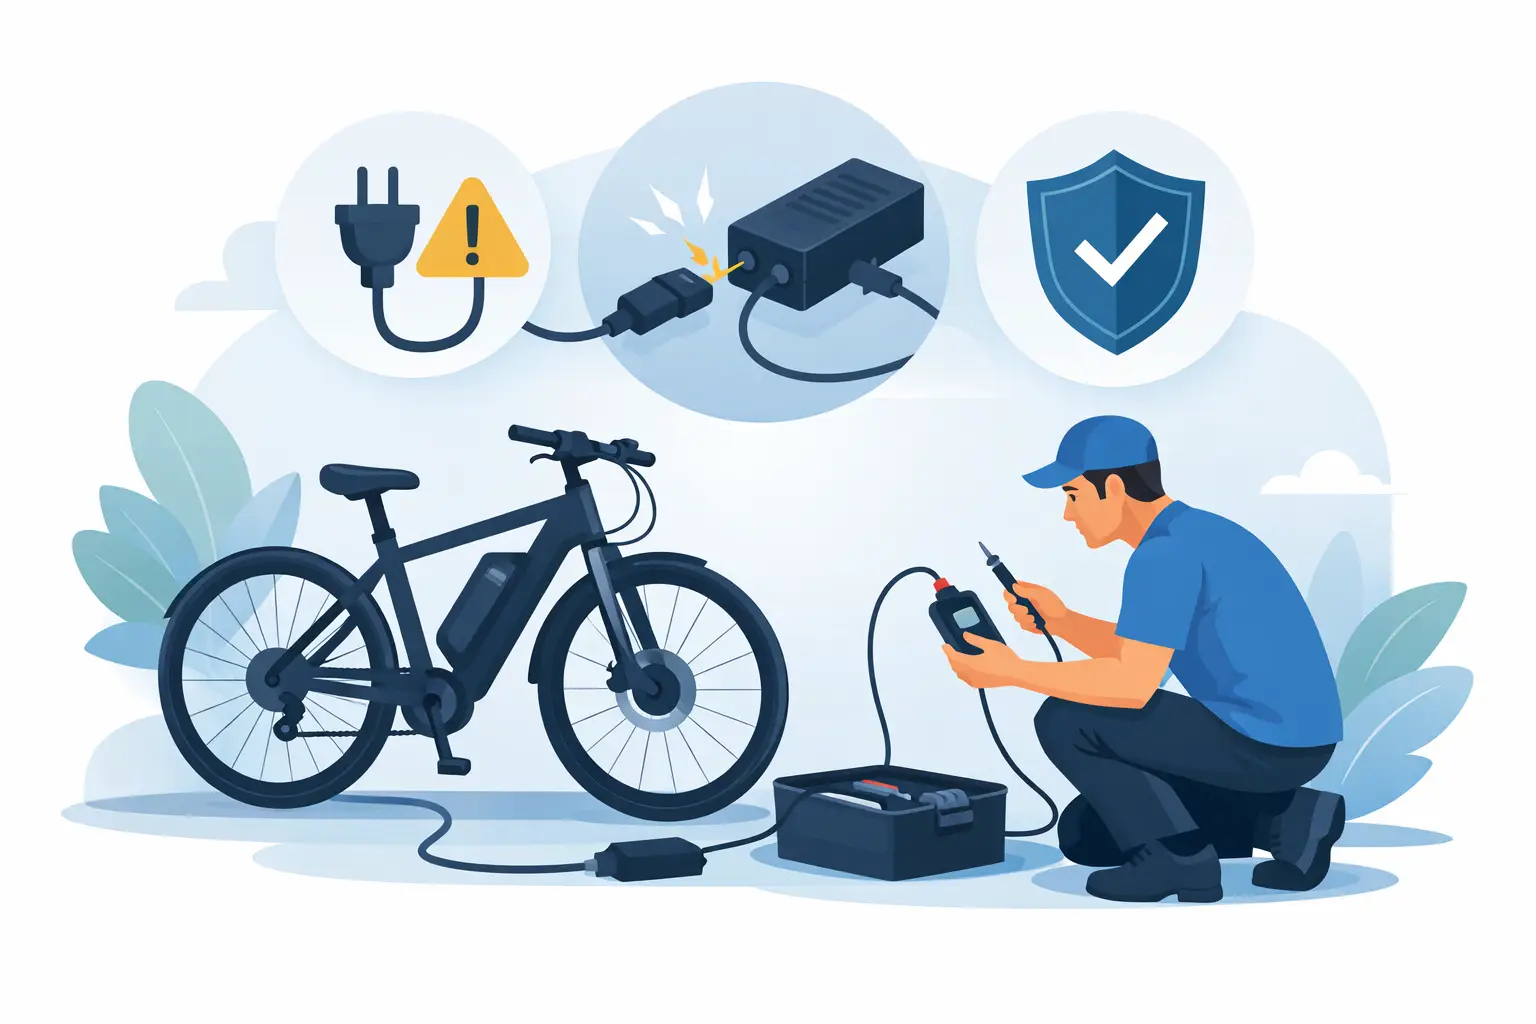
A charger that stays green when the battery is low, flashes an unfamiliar light, or gets hot enough to concern you can stop a ride before it starts. Knowing how to fix ebike charger problems starts with separating a true charger fault from a battery, charge-port, or wiring problem. That distinction matters because e-bike chargers connect to household power on one side and a high-energy lithium battery on the other.
The safest approach is simple: inspect what you can see, test only within your skill level, and do not defeat a safety feature to make charging work. A charger is usually less expensive than a battery or controller, but using the wrong replacement or bypassing a failed part can create a much bigger repair.
Start With Safe Charger Checks
Unplug the charger from the wall and the bike before touching the cord, connector, or battery port. Let it cool if it was recently charging. A little warmth is normal on many chargers; excessive heat, a burning-plastic smell, buzzing, smoke, discoloration, or a swollen charger case is not. Stop using it immediately if you see any of those signs.
First, rule out the easy causes. Plug the charger directly into a known-good wall outlet, not a questionable power strip or extension cord. Check whether the outlet has tripped at a GFCI receptacle or breaker. Then inspect the charger’s AC cord and DC lead from end to end. Look for crushed insulation, exposed wire, a loose plug, bent connector pins, or a cord that only works when held at a certain angle.
Also inspect the bike’s charging port with a flashlight. Dirt, moisture, corrosion, or a pushed-back center pin can prevent charging even when the charger itself is fine. Do not scrape metal contacts with a screwdriver or spray liquid cleaner into the port. If there is visible corrosion or a damaged pin, the port and its wiring need proper service.
Read the Charge Light, But Do Not Rely on It Alone
Most chargers use a red light for active charging and green for standby or a full battery. That is common, not universal. Some brands use blue, orange, blinking patterns, or no status light at all. The label on the charger or the bike manual is the best reference for that model.
A green light before connecting to the bike can be normal. A green light that never changes after connecting to a clearly depleted battery can point to a failed charger, a bad charge-port connection, a battery management system issue, or a battery that is not accepting a charge. The light alone cannot diagnose which one failed.
How to Fix Ebike Charger Issues You Can Verify
The charger label gives you the basic facts needed for diagnosis. Confirm the output voltage, output current, connector type, and polarity. A typical 48V e-bike battery uses a charger that outputs about 54.6V. A typical 36V battery uses a 42V charger. Those numbers are not interchangeable.
Never assume that a plug fitting the port means the charger is correct. Two chargers may share a connector while having different voltage, current capacity, or polarity. Connecting the wrong charger can damage the battery’s BMS, charge-port wiring, or cells.
If you have a multimeter and know how to use one safely, you can perform a basic unloaded voltage check. Set the meter to DC voltage, plug the charger into the wall, and carefully test the charger output at the connector without allowing the probes to touch each other. The reading should be close to the voltage printed on the charger label. For example, a 54.6V charger should be near 54.6V with no battery attached.
A reading of zero or far below the labeled output usually confirms a charger-side failure. The repair may be an internal fuse, failed capacitor, broken output lead, damaged connector, or failed circuit board. Because the case contains components connected to household AC power, opening it is not a casual DIY repair. Even when unplugged, internal capacitors can retain dangerous voltage.
Some chargers have an accessible fuse holder near the AC input. If yours does, replace a blown fuse only with the exact type and rating specified by the manufacturer. Do not install a larger fuse, wrap a fuse in foil, or bypass it. A fuse fails for a reason, and an incorrect replacement removes the protection meant to prevent overheating or fire.
When the Charger Tests Good but the Battery Will Not Charge
A charger can test normally with no load and still fail under load, but the bike should also be checked. This is where many riders buy a new charger unnecessarily.
A loose charge-port wire is a common issue, especially on fat-tire bikes, moped-style e-bikes, and bikes that see rough roads. The port may look fine from the outside while its positive or negative lead has broken inside the battery cradle or frame. A technician can test continuity, inspect the port, and check for voltage drop under load.
The battery itself may also be the problem. A lithium battery’s BMS can block charging when it detects an over-discharged cell group, temperature issue, overcurrent event, damaged wiring, or imbalance between cell groups. In some cases, a battery that has been left empty for a long period will not wake up with the standard charger. Forcing it with a higher-voltage source is dangerous and can permanently damage the pack.
If the bike powers on but will not charge, pay attention to whether the battery gauge changes, whether the charger LED changes when connected, and whether the port feels loose. If the bike will not power on either, the issue may involve the battery fuse, BMS, main discharge wiring, controller, or key switch circuit rather than the charger.
Do Not Repair These Charger Problems at Home
There are a few situations where replacing the charger or having the system professionally diagnosed is the right call. Stop using the charger and do not attempt an internal repair if you notice:
- A cracked case, melted plastic, scorch marks, smoke, or a strong electrical odor.
- A frayed AC cord, exposed conductor, damaged strain relief, or loose wall plug.
- A bent charging connector, missing pin, melted connector housing, or intermittent connection.
- A charger that becomes unusually hot, hums loudly, trips a breaker, or repeatedly blows a fuse.
- A battery that is swollen, leaking, hot while resting, or has been wet or physically damaged.
Damaged cords and connectors may look like simple repairs, but they must be correctly rated, insulated, strain-relieved, and tested. A poor splice can create resistance and heat at the exact point where current is flowing into the battery. The result can be a melted plug, a damaged battery port, or a fire risk.
Choosing a Replacement Charger
If testing confirms the charger has failed, match the replacement to the battery specifications, not just the bike brand or connector shape. The output voltage must match exactly. The connector and polarity must match. Charging current should stay within the battery manufacturer’s supported range.
A higher-amp charger is not automatically better. It may reduce charging time if the battery and BMS are designed for it, but it can also increase heat and stress on an older battery, a marginal charge port, or undersized wiring. For many commuter and recreational e-bikes, the original charge rate is the sensible choice.
Avoid unbranded chargers with vague labels, no safety markings, or claims that one unit works with every e-bike. A reliable charger has clear input and output ratings, a proper connector, solid cable strain relief, and a case that does not flex or rattle. If the original charger is unavailable, bring the bike and battery in so the charging system can be verified before a replacement is selected.
Get the Full Charging System Diagnosed
When a charger, battery, and port all appear normal but charging still fails, the fault may be inside the battery case or the bike’s wiring harness. That calls for more than swapping parts. Proper diagnosis can include charger output testing, battery voltage checks, BMS evaluation, charge-port inspection, connector testing, and load testing for voltage drop.
For San Diego riders, FixEbike can identify whether the failure is truly in the charger or elsewhere in the charging system. That saves time and helps prevent replacing a good charger while the real problem remains in the battery, port, or wiring.
Treat a charging fault as useful information, not something to work around. A careful check now can protect the most expensive part of your e-bike and get you back to reliable rides with confidence.