
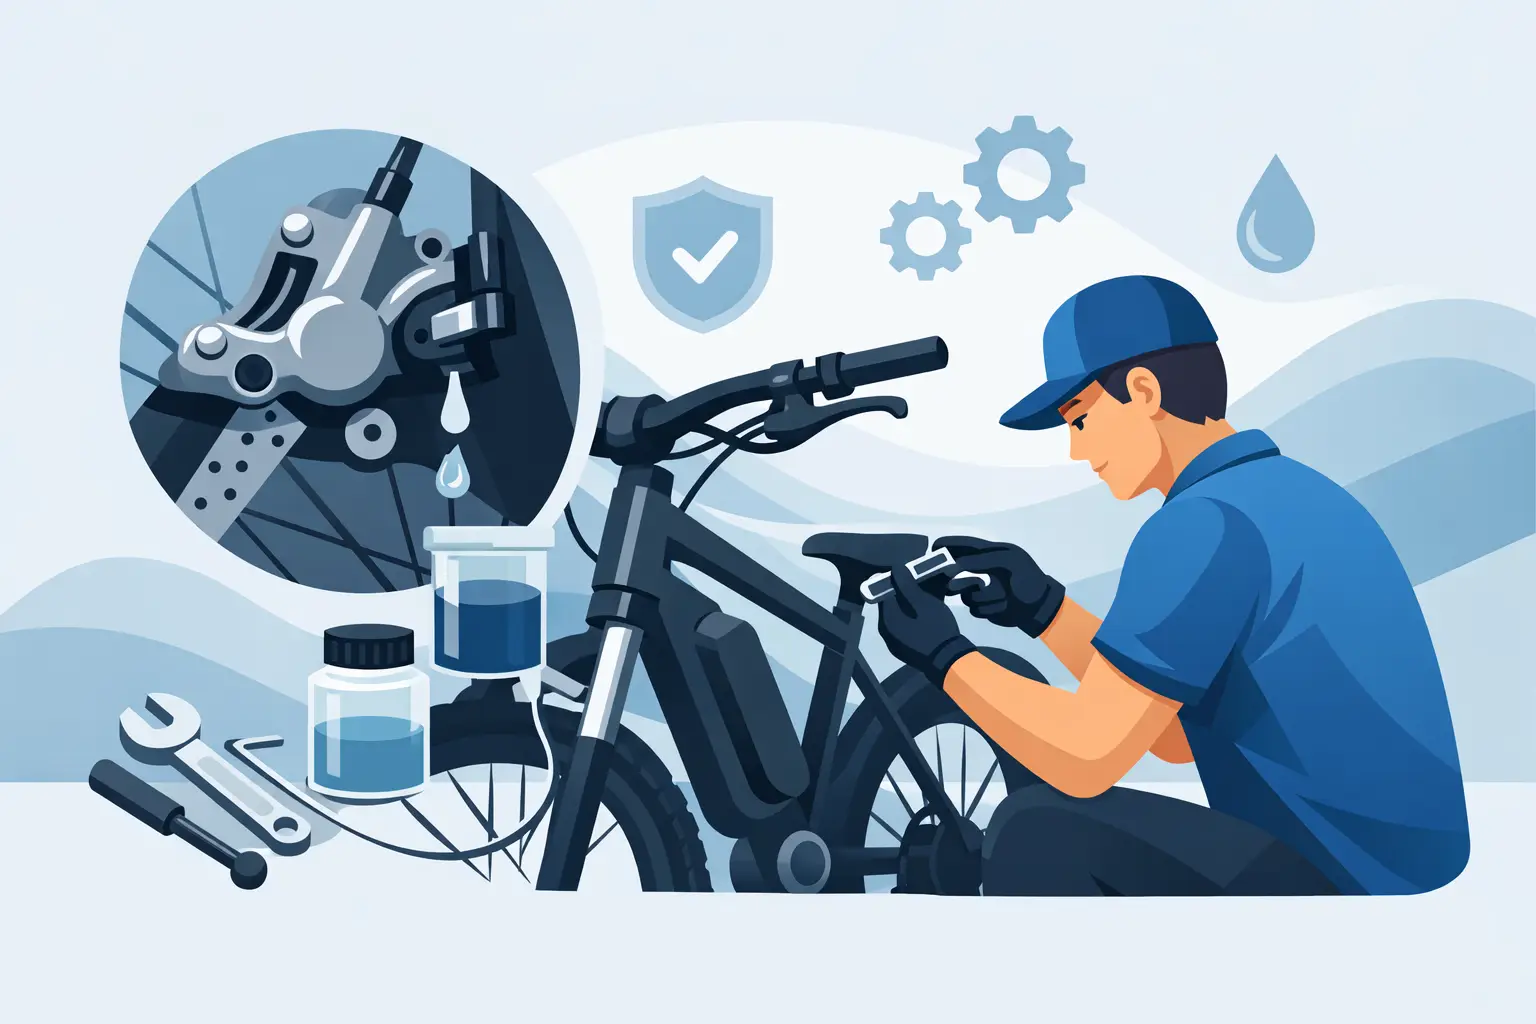
A 70-pound e-bike with a rider, cargo, and downhill momentum puts far more demand on its brakes than a lightweight road bike. Knowing how to service hydraulic ebike brakes helps you catch worn pads, contaminated rotors, and weak lever feel before they turn into a long stopping distance or a damaged rotor.
Hydraulic brakes are reliable when they are kept clean and properly adjusted, but they are not a component to guess at. A basic inspection and pad replacement are realistic home-maintenance jobs for many riders. A full hydraulic bleed, stuck piston repair, leaking caliper, or damaged hose requires the right fluid, fittings, bleed kit, and careful procedure. If there is any doubt about brake safety, park the bike until it is checked.
Start With E-Bike Safety and the Right Supplies
Turn the e-bike completely off before working near the wheels. Remove the battery when practical, especially on bikes with a throttle or a walk-assist function. You do not want the rear wheel powering on while your hand is near a rotor, caliper, or drivetrain.
Confirm the brake brand and model before buying fluid or pads. Hydraulic systems generally use either mineral oil or DOT brake fluid. These fluids are not interchangeable. Putting the wrong fluid into a lever or caliper can ruin the seals and lead to expensive replacement parts. The correct fluid type is normally printed on the brake lever reservoir cap or listed in the manufacturer documentation.
For routine service, gather a clean lint-free rag, isopropyl alcohol made for brake cleaning, nitrile gloves, a pad spreader or clean plastic tire lever, the correct replacement pads, and the proper hex or Torx tools. Keep lubricants, chain cleaner, and aerosol protectants far away from the rotors and pads. One careless overspray can create brake squeal and severely reduce stopping power.
Inspect Before You Take Anything Apart
Squeeze each brake lever firmly while the bike is stationary. A healthy lever should feel solid and should not slowly pull all the way to the handlebar. Some lever travel is normal, particularly on systems with larger rotors or long hoses, but a spongy feel often points to air in the line, old fluid, or a leak.
Look closely at the hoses, lever body, caliper, and banjo fittings. Wetness, oily dirt collecting around a fitting, or fluid under the lever is a stop-riding issue. Hydraulic fluid does not fix itself, and a small leak can become a complete loss of braking pressure.
Spin each wheel and listen for rotor rub. A light, occasional brush can happen after wheel installation, but constant scraping means the caliper may be misaligned, the rotor may be bent, or one piston may not be retracting evenly. Check that the wheel is fully seated in the dropouts or axle mounts first. Many apparent brake issues begin with a wheel that was not installed straight after a flat repair or transport.
Also inspect the rotor. It should be clean, reasonably flat, and firmly secured. Replace it if it is below its stamped minimum thickness, deeply scored, badly warped, cracked, or heat-discolored. Heavy e-bikes, cargo loads, and San Diego descents can overheat undersized or worn rotors quickly.
Check and Replace Worn Brake Pads
Look into the top or rear of the caliper with a flashlight. The friction material should have useful thickness remaining above the metal backing plate. A practical rule is to replace pads once the friction material is around 1 mm thick, or sooner if wear is uneven. Do not wait for a grinding noise. Grinding commonly means the backing plate is cutting into the rotor.
Remove the wheel and follow the hardware layout carefully. Most calipers use a pad retaining bolt, pin, or clip. Remove that hardware, then slide the old pads and spring out together. Take a quick photo before disassembly if the arrangement is unfamiliar.
Before installing new pads, push the caliper pistons fully back into their bores. Use a purpose-made pad spreader or a clean plastic tool. Do not pry against the rotor, and do not use a metal screwdriver where it can gouge the piston face or seal. If the pistons are difficult to retract, clean the exposed piston edges carefully and inspect for leakage. A piston that remains stuck may need caliper service rather than more force.
Install the spring and new pads in the correct orientation, replace the retaining hardware, and make sure the pin or bolt is secure. Refit the wheel, then pump the brake lever repeatedly until the pads contact the rotor. Never pull the lever with the wheel removed unless a proper bleed block is installed. The pistons can extend too far, making reassembly much more difficult.
Do Not Reuse Contaminated Pads
Pads that have absorbed chain lube, hydraulic fluid, grease, or cleaning products rarely return to dependable performance. Sanding or heating them may reduce noise temporarily, but it does not make them a reliable choice for an e-bike that needs predictable stopping power. Replace contaminated pads and clean the rotor thoroughly with isopropyl alcohol. If the contamination came from a hydraulic leak, repair the leak before fitting new pads.
Center the Caliper and Clean the Rotor
After replacing pads or reinstalling a wheel, the caliper may need alignment. Loosen the two bolts holding the caliper to its mount just enough that the caliper can move. Squeeze and hold the corresponding brake lever, then tighten the bolts evenly to the manufacturer torque specification. Release the lever and spin the wheel.
If rubbing remains, do not keep tightening bolts at random. Check rotor trueness first. A rotor that rubs once per revolution is often slightly bent, while rubbing that persists throughout the rotation can indicate caliper alignment or a sticky piston. Minor rotor truing can be done with a rotor truing fork, but a cracked, badly bent, or thin rotor should be replaced.
Clean both rotor faces with isopropyl alcohol and a lint-free rag. Keep fingers off the braking surface afterward. Skin oils can cause noise and inconsistent bite, particularly once the brakes heat up.
Bed In New Pads Before Normal Riding
New pads and rotors need a controlled break-in process, often called bedding in. Without it, brakes can feel weak, noisy, or uneven even when everything is installed correctly.
In a safe, flat area, accelerate to a moderate speed and apply one brake firmly until you are almost stopped, without locking the wheel. Repeat this around 15 to 20 times per brake, allowing brief cooling time between stops. Then perform several stronger stops. The goal is to transfer an even layer of pad material onto the rotor, not to overheat the system in one hard stop.
Test the front and rear brakes separately. The front brake provides most of the stopping power, but it also has the greatest traction and weight-transfer demands. Riders new to powerful e-bikes should practice progressive front-brake use somewhere clear of traffic, pedestrians, and loose gravel.
When a Hydraulic Brake Bleed Is Needed
A bleed replaces old fluid and removes air from the hydraulic system. You may need one if the lever feels spongy after confirming the pads are good, if lever pull changes during a ride, after a hose or caliper replacement, or when the manufacturer calls for scheduled fluid service.
This is where procedure matters. Each brake brand uses a specific bleed port arrangement, adapter, fluid, and sequence. DOT fluid can damage paint and requires careful handling. Mineral oil is less aggressive but still must stay off pads and rotors. Overfilling a system can cause drag when fluid expands in heat, while trapped air can make lever feel unpredictable.
A home bleed can be successful with the exact manufacturer kit and instructions, but it is not the right place to improvise with generic tubing and leftover automotive fluid. If you see a leak, have a damaged hose, cannot get a firm lever after bleeding, or notice one piston moving much farther than the other, professional diagnosis is the safer repair path.
Watch for E-Bike-Specific Brake Problems
E-bikes often reveal brake problems faster because speed, weight, and frequent stop-and-go riding generate more heat. Delivery-style riders and commuters may go through pads much sooner than recreational riders. Fat-tire and moped-style bikes can also need more frequent caliper alignment because the wheels and rotors take harder impacts.
If your brake lever includes a motor cutoff sensor, test it after any brake work. With the rear wheel safely elevated, apply light throttle only if your bike allows it, then pull the brake lever. Motor assist should cut out immediately. A brake that stops the wheel but does not trigger the cutoff may have a sensor, wiring, connector, or controller-input issue separate from the hydraulic system.
For riders dealing with recurring brake drag, weak stopping power, electrical cutoff faults, or a brake issue after a crash, FixEbike can diagnose the mechanical and electrical sides of the problem together. That matters on e-bikes where a brake lever can affect both braking performance and motor behavior.
A clean rotor, correctly bedded pads, and a firm lever make every ride more controlled. Give your brakes a quick check before the next hill, school run, or commute – it is one of the simplest ways to keep an e-bike dependable when you need it most.