
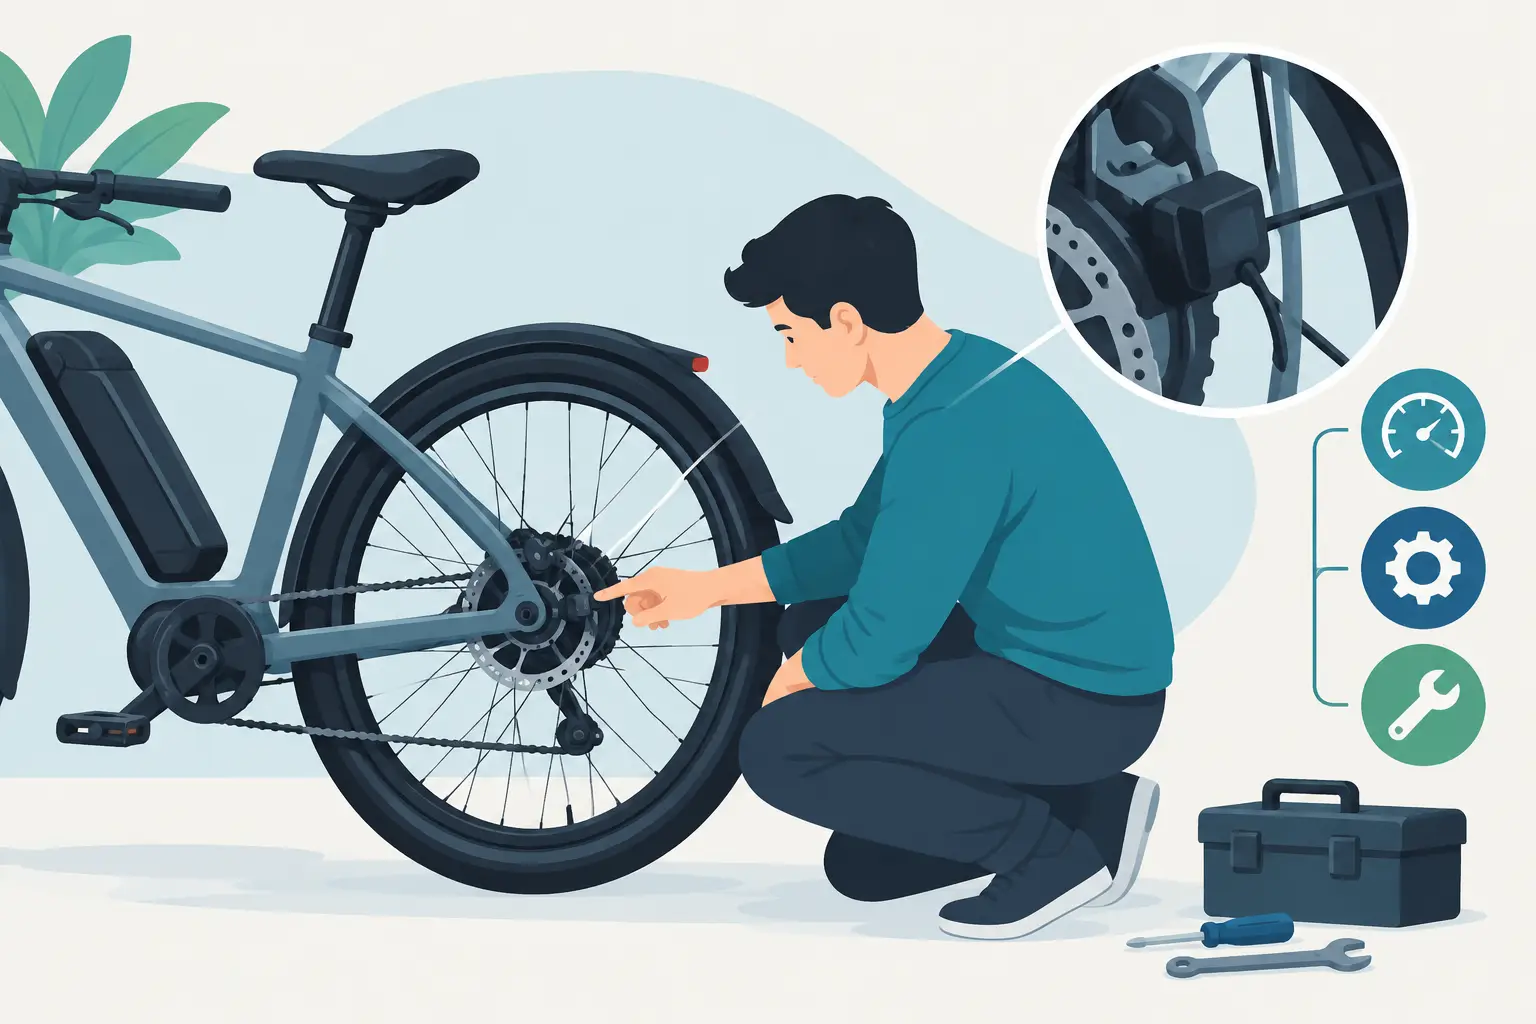
A speed reading that suddenly drops to zero can do more than make your display inaccurate. On many e-bikes, the speed signal affects pedal assist behavior, odometer tracking, cruise control, and error detection. If you need to troubleshoot ebike speed sensor problems, start with the simple physical checks, then work toward wiring, display settings, and controller diagnostics.
A sensor problem is often repairable without replacing major components. The key is identifying what type of speed system your bike uses and avoiding the common mistake of replacing parts before confirming the actual fault.
What an E-Bike Speed Sensor Does
Most e-bikes determine speed in one of two ways. Many commuter, fat-tire, and moped-style bikes use an external wheel speed sensor. A small magnet passes a sensor mounted near the chainstay or fork, creating a pulse each time the wheel rotates. The controller or display converts those pulses into your speed.
Other bikes calculate speed through hall sensors inside the hub motor. In that setup, there may be no external magnet at all. The motor’s internal sensors report rotor movement to the controller, which then sends speed information to the display.
That difference matters. A loose spoke magnet is a straightforward adjustment. A speed fault tied to motor hall signals, phase wiring, or controller communication requires a more careful electrical diagnosis.
Signs Your Speed Sensor May Be Failing
The most obvious symptom is a display that reads 0 mph while the bike is moving. But speed sensor faults can show up in less direct ways. Pedal assist may cut in and out, remain weak, or stop working after a few seconds. The bike may feel normal on throttle but act unpredictably when using pedal assist.
Some riders notice that the speed reading jumps between realistic and impossible numbers. Others see an error code, an odometer that no longer records miles, or cruise control that will not engage. If the display shows speed but the number is consistently wrong, the sensor may be working and the wheel-size setting may be the real issue.
Before testing, power the bike off and remove the battery if you will be handling connectors, inspecting damaged wiring, or working near the rear wheel. Never troubleshoot electrical connections with the bike powered on unless the test specifically requires it and the wheel is safely off the ground.
Start With the Magnet and Sensor Alignment
For an e-bike with an external speed sensor, inspect the magnet first. It is usually attached to a spoke and passes a small black sensor mounted on the frame. Mud, wheel impacts, vibration, and routine tire work can shift either part out of position.
The magnet should pass the marked sensing area of the sensor closely and squarely. On many systems, a gap of roughly 2 to 5 mm works well, but follow the component’s markings when available. If the magnet is too far away, crooked, or passing the wrong end of the sensor, the display may not detect wheel rotation.
Spin the wheel by hand and watch the gap through a full revolution. A loose spoke can cause the magnet to wobble, creating an intermittent speed signal. Make sure the magnet is secure, the sensor bracket is not cracked, and the wheel is properly seated in the dropouts.
Do not assume that a magnet that looks close is correctly positioned. A few millimeters can be the difference between a reliable signal and no reading at all.
Inspect the Sensor Cable Before Replacing Parts
The cable from an external speed sensor is exposed to the road, brake rotor area, suspension movement, and rear-wheel service. Follow it from the sensor to its connector, looking for pinched sections, cuts, abrasion, stretched insulation, and sharp bends.
Pay close attention to the area near the rear axle. Hub motor cables and sensor leads are commonly damaged when a wheel is installed incorrectly, an axle spins in the dropout, or a bike falls on its side. A wire can be broken internally even when the outer insulation looks mostly intact.
Disconnect and inspect accessible connectors with the battery removed. Look for bent pins, moisture, corrosion, green residue, or connectors that do not fully seat. Reconnect them firmly, aligning arrows or keyways rather than forcing the plug. A partially connected waterproof plug can produce intermittent faults that seem to disappear and return during a ride.
If the cable has visible damage, avoid wrapping it in tape and treating that as a permanent repair. Speed sensor wiring carries a low-voltage signal, but a poor repair can allow water intrusion and create a recurring problem. Proper wire repair, sealing, and strain relief are more dependable.
Check the Display Settings and Error Messages
When the speed display is inaccurate rather than dead, check the programmed wheel size. A setting intended for a 26-inch wheel on a 20-inch fat-tire bike, for example, can make the reported speed and mileage significantly wrong. Tire diameter, not just rim diameter, affects the correct setting.
Some displays also allow speed-limit, unit, sensor, and communication settings that can be changed accidentally during setup. If the display was recently replaced, reset, or moved from another bike, confirm that its parameters match the bike’s controller and wheel configuration.
Write down any error code exactly as it appears before resetting or disconnecting anything. The same code family can mean different things across brands, and a code that appears to be a speed issue may actually point to a controller, motor, or display communication fault.
When the Fault Is Inside the Hub Motor
If your bike has no external spoke magnet and sensor, its speed information may come from the hub motor’s hall sensor circuit. In this case, a zero-speed display paired with motor problems deserves a deeper inspection.
Possible causes include a failed hall sensor, damaged hall wiring, a loose motor connector, water intrusion, a controller fault, or a damaged pin in the motor harness. Symptoms may include rough motor operation, shuddering when starting, reduced power, a motor that runs only intermittently, or an error code that returns immediately after being cleared.
A working throttle does not always rule out a hall sensor problem. Depending on the controller design, the bike may still move while producing an inaccurate speed signal or may run poorly only under load. Likewise, replacing the display may not help if the controller never receives a valid signal from the motor.
Testing internal hall circuits typically requires a meter, a known-good voltage reference, and an understanding of the specific wiring layout. Wire colors are not universal. Probing the wrong pin or shorting adjacent pins can damage a controller, so this is the point where a professional diagnostic is often less expensive than trial-and-error parts replacement.
A Practical Test Order That Saves Time
Use a simple sequence rather than jumping directly to the most expensive component. Check the display for error codes and confirm the wheel-size setting. Then inspect magnet alignment and sensor mounting, followed by the sensor cable and connectors. If those checks pass, determine whether the bike uses an external sensor or motor-based speed feedback.
For bikes with an external sensor, a technician can verify whether the sensor is receiving power and switching its signal as the magnet passes. For hub-motor systems, the next step is testing the hall sensor circuit, motor harness continuity, controller inputs, and display communication.
This process matters because several unrelated problems can create the same symptom. A damaged sensor, a corroded connector, a broken wire near the axle, a failed hall sensor, and a controller fault can all leave you staring at a zero-speed display.
When to Bring Your E-Bike In
Bring the bike in if the wiring is damaged, the sensor fault appeared after a crash or wheel removal, the motor runs rough, or an error code keeps returning. It is also worth scheduling a diagnostic when pedal assist has become unpredictable, even if the bike still rides on throttle. Intermittent electrical faults rarely improve on their own.
At FixEbike, speed-related problems are diagnosed as part of the full electrical system, including the display, controller, wiring harness, motor connections, and battery voltage behavior. That approach helps avoid replacing a sensor when the real issue is farther upstream.
A speed sensor problem may be small, but the signal it provides can affect how the entire e-bike behaves. A careful inspection now can turn a confusing ride issue into a targeted repair and get you back to dependable commuting, errands, and weekend rides.