
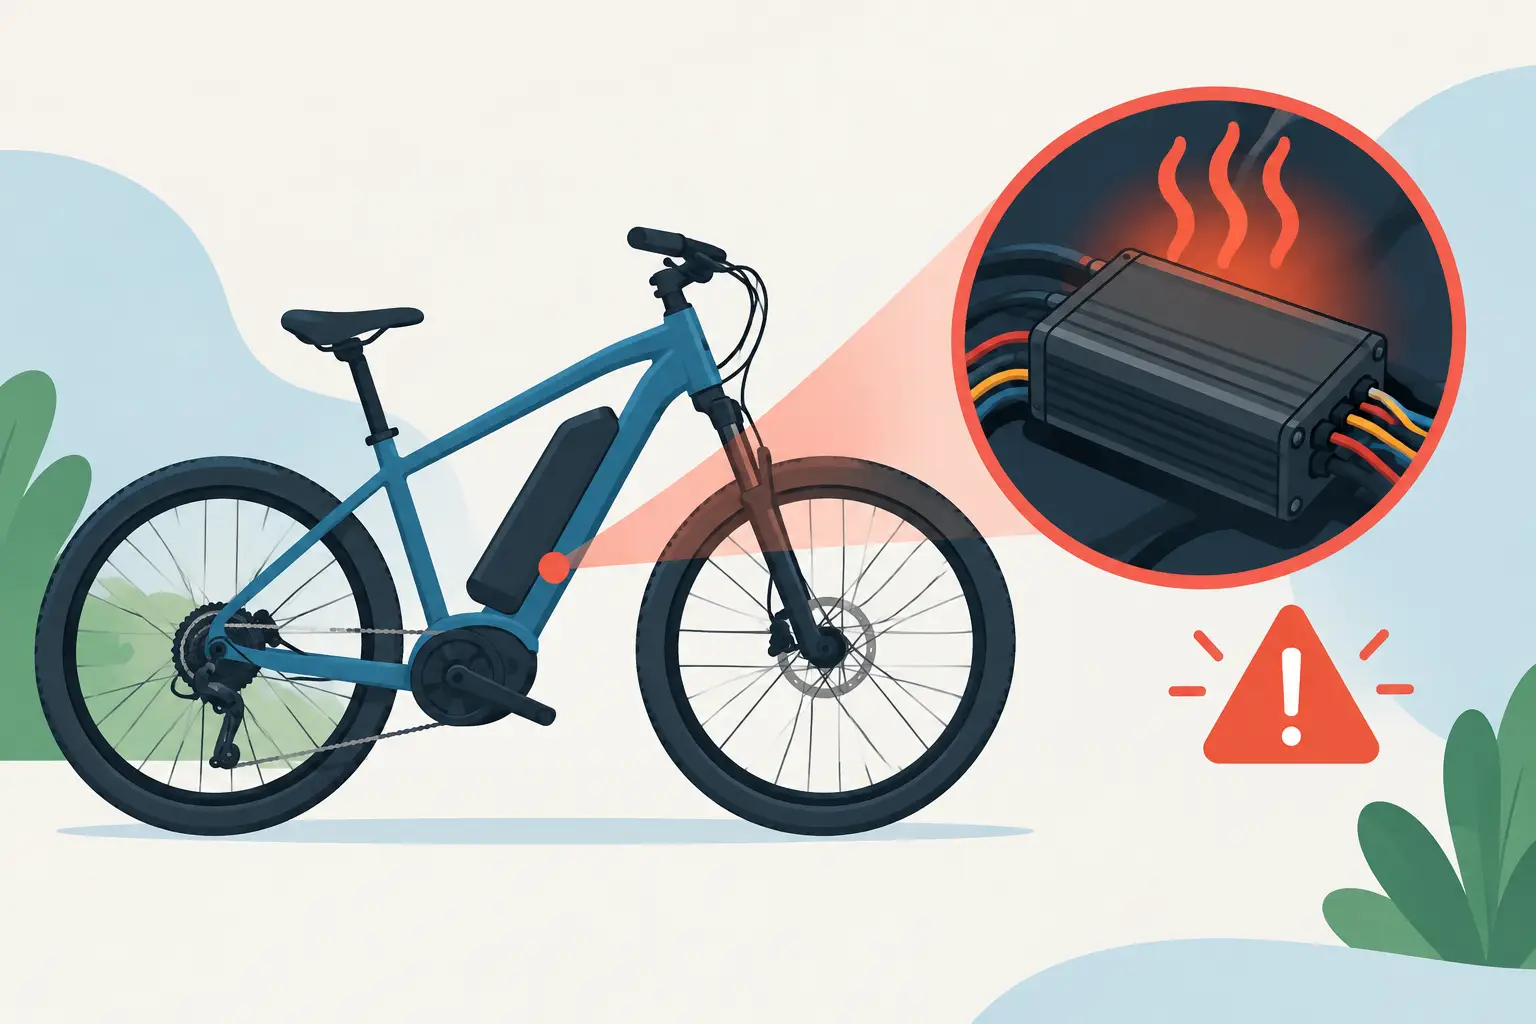
A controller meltdown is one of the more alarming e-bike failures because it can turn a normal ride into sudden power loss, error codes, overheating, or a bike that will not turn on at all. The word “meltdown” is often used loosely, but the problem is real: excessive heat or an electrical fault can damage the controller’s internal components, connectors, wiring, or all three.
Your controller is the traffic manager for the electrical system. It takes power from the battery, reads signals from the throttle, pedal assist sensor, brakes, display, and motor sensors, then sends controlled power to the motor. When it fails, the symptoms can look like a bad battery, motor problem, loose wire, or display error. That is why a proper diagnosis matters before replacing expensive parts.
What an E-Bike Controller Meltdown Actually Means
An e-bike controller does not need to be visibly melted to have a serious failure. In many cases, “controller meltdown” describes a controller that has overheated internally and damaged its MOSFETs, circuit board, capacitors, or power connections. MOSFETs are the electronic switches that regulate how battery power reaches the motor. When one fails, it may short, stop delivering power, or create excessive heat.
Some controllers do show obvious evidence. You may find a burnt-electronics smell, a warped plastic housing, discolored phase-wire connectors, or melted insulation near the battery or controller compartment. Other failures leave no visible marks at all. The bike may simply display an error, surge under throttle, shut down under load, or refuse to assist.
Heat is usually part of the story, but it is not always the original cause. A controller can overheat because the motor is drawing too much current, a phase connection is loose, a hall sensor signal is incorrect, or the controller itself is undersized for the bike’s setup. Replacing the controller without finding that underlying issue can lead to the same failure again.
Common Signs of a Controller Meltdown
The clearest warning sign is power that cuts out when you accelerate, climb a hill, or carry extra weight. A bike may power up normally on the stand but shut down as soon as the motor has to work. That often points to a voltage drop, battery BMS shutdown, overloaded controller, damaged connection, or motor fault. It needs testing to separate one from another.
Other signs can include a hot controller case after a short ride, reduced power, jerky acceleration, a motor that hums but does not turn, or a rear wheel that feels hard to spin. If the motor wheel is unusually resistant with the system off, a shorted controller phase circuit may be involved. Do not force the bike to run in that condition.
Pay attention to the display, but do not rely on it as the final diagnosis. Error codes can be useful clues, especially for communication, hall sensor, throttle, or controller faults. However, codes vary widely by brand and may only report the last component that stopped communicating. A wiring issue or low-voltage event can trigger a controller-related code even when the controller is not the root cause.
A burning smell, smoke, sparking, a swollen battery case, or heat near the battery connector calls for immediate action. Turn the bike off, unplug the charger, move it away from flammable materials if it is safe to do so, and do not ride or charge it again until it has been inspected.
Why Controllers Overheat and Fail
High current creates heat. Long climbs, steep grades, sand, soft dirt, stop-and-go delivery riding, and heavy loads can all push a controller hard, particularly on a fat-tire or moped-style e-bike. San Diego heat can add to the problem when the controller is enclosed in a tight frame compartment with limited airflow.
Still, normal hard riding should not destroy a properly matched, healthy system. Controller failures often involve one or more contributing faults.
A loose or corroded battery connector creates resistance. Resistance generates heat, which can damage terminals and cause unstable voltage under load. Loose motor phase connections do the same thing, sometimes melting individual connector housings before the controller fails.
Water intrusion is another concern. A controller compartment that looks sealed may still allow moisture in through cable openings, cracked covers, or damaged grommets. Corrosion on a circuit board can create intermittent power loss at first, then a complete failure later.
Incorrect modifications can also be costly. Installing a higher-current controller without confirming that the battery, BMS, motor, wiring, and connectors can safely support it may overwork the entire electrical system. Likewise, mixing displays, controllers, throttles, and motors from different systems can create communication problems or incorrect wiring connections. Similar plugs are not proof that components are electrically compatible.
Finally, the controller may simply be failing due to an internal defect or age. This is possible, but it should be confirmed rather than assumed.
What to Do Before You Ride Again
If you suspect a controller problem, avoid repeated test rides. Every attempt to force a damaged system to run can turn a repairable connector or controller issue into a larger wiring, motor, or battery repair.
Start with a basic external check while the bike is powered off. Look for crushed cables, loose battery terminals, disconnected plugs, damaged insulation, moisture, and brown or black discoloration around high-current connectors. Do not probe exposed battery terminals with metal tools, and do not open a lithium battery pack. Battery work requires the right equipment and safety procedures.
If the controller is too hot to touch comfortably after a brief ride, let the bike cool completely. Do not spray it with water or put it in a freezer. Rapid cooling can introduce moisture and will not repair damaged electronics.
It is also useful to note exactly when the failure occurs. Does the display stay on while the motor quits? Does it happen only under throttle, only with pedal assist, or only on hills? Does the bike run until the battery drops below a certain charge level? Those details help narrow the diagnostic path and can save time in the shop.
Diagnosing the Real Fault
A proper controller diagnosis checks the system as a group. The battery should be tested for correct voltage and voltage behavior under load. The technician should inspect the battery cradle, fuse, charge port, main power leads, and connectors for heat damage or resistance.
The controller itself can then be evaluated for shorted phase outputs, damaged internal switching components, water intrusion, and correct communication with the display. Motor phase wires and hall sensor circuits should also be checked. A failed hall sensor, pinched motor cable, or damaged axle wire can mimic a controller failure or cause a replacement controller to fail prematurely.
This is especially important when a bike has had an aftermarket conversion, a crash, a water exposure event, or prior electrical work. The fastest-looking repair is not always the least expensive repair. Swapping parts until the symptom changes can leave the actual fault in place.
At FixEbike, controller diagnostics are approached as an electrical-system problem, not just a controller replacement. That means checking the power path from battery to controller to motor, along with the low-voltage signal wiring that tells the system when and how to provide assist.
Repair or Replace: What Makes Sense?
Whether a controller can be repaired depends on its design and the extent of damage. Some units have replaceable external connectors or wiring that can be repaired without replacing the controller. Others have failed internal components that may be serviceable at the board level, but many sealed, low-cost controllers are more practical to replace.
Replacement is not as simple as matching voltage and plugging in a new box. The controller must be compatible with the battery voltage, motor type, current requirements, display protocol, pedal assist sensor, throttle, brake cutoffs, and connector layout. A 48-volt controller may still be the wrong choice if its current limit, communication protocol, or motor sensor configuration does not match the bike.
A replacement controller may also reveal an existing battery weakness. If the original controller was damaged by a battery connection that overheated or a BMS that cuts out under load, the new controller will not solve the rideability problem alone. The right repair addresses the failed part and the condition that caused it.
Preventing the Next Failure
Give the bike a quick visual inspection after wet rides, transport, or any impact. Keep high-current connectors clean, fully seated, and protected from strain. If you notice intermittent power, a warm connector, a new burning odor, or a display that resets during acceleration, stop riding before the issue grows.
For riders who regularly climb steep terrain, haul cargo, or use their e-bike for long delivery shifts, component matching matters. A system that is comfortable on flat bike paths may run near its limits on repeated hard climbs. Choosing the right controller, battery capacity, wiring, and motor setup is part of reliability, not just performance.
A controller problem can feel sudden, but the bike often gives warnings first. Treat those warnings as a reason to get a clear diagnosis, not a reason to keep testing your luck on the next hill.