
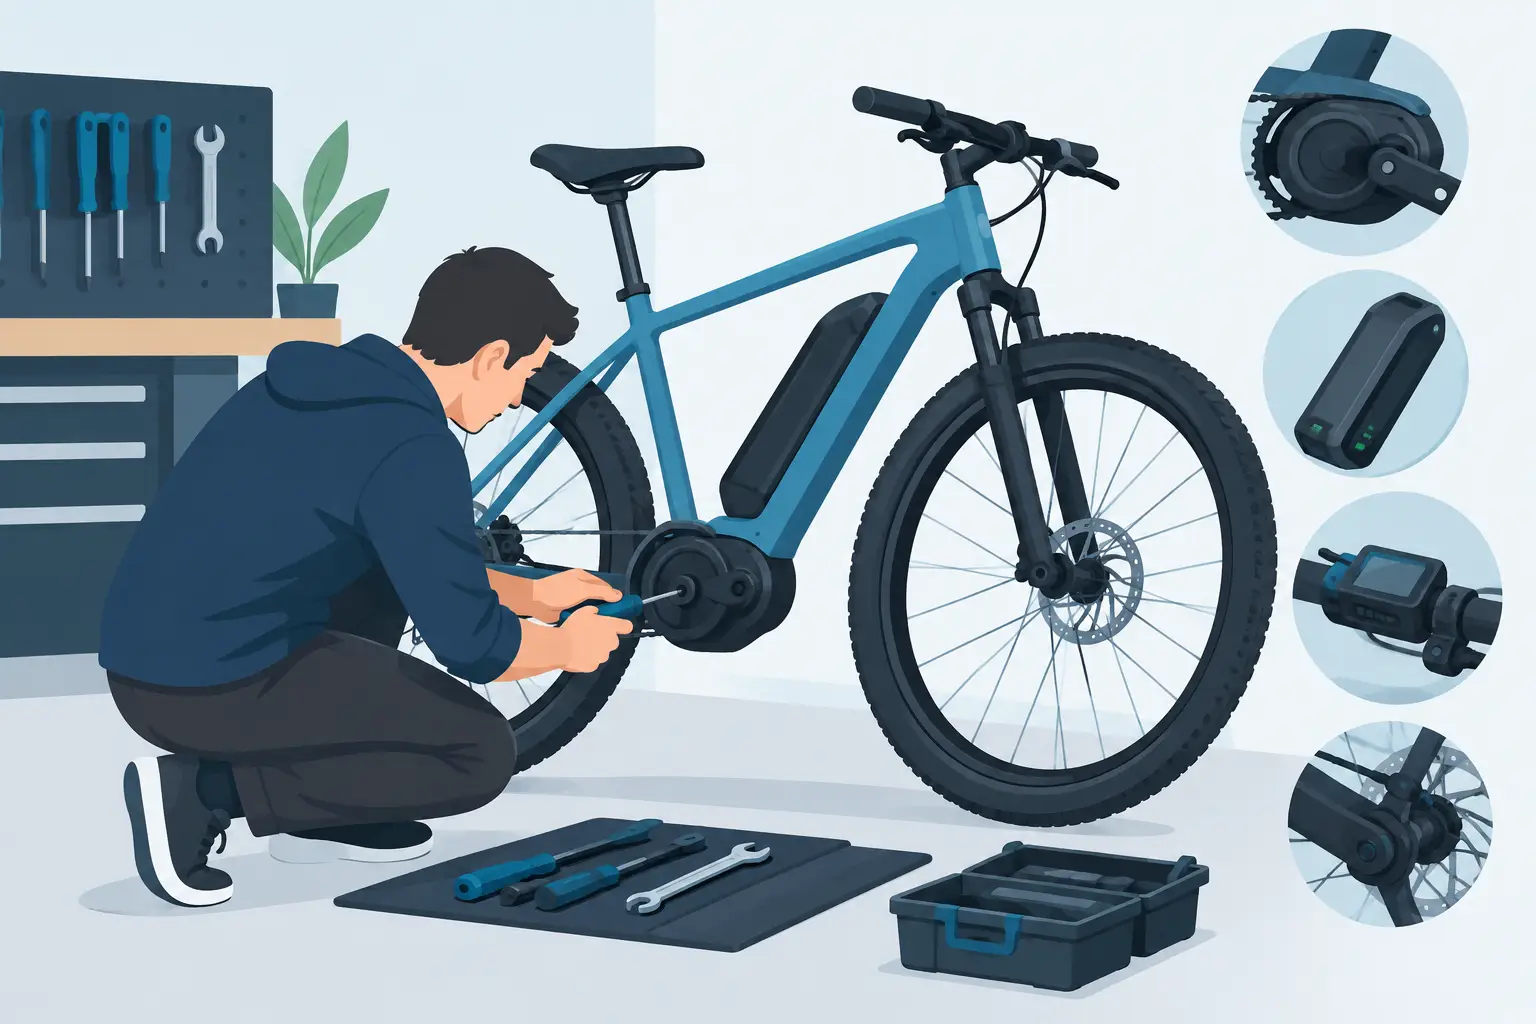
When pedal assist cuts in and out, surges unexpectedly, or stops working altogether, repairing ebike pedal assist is rarely as simple as replacing the first part that looks suspicious. The system depends on several components communicating correctly: the battery, display, controller, pedal sensor, motor, wiring, and sometimes brake cutoffs. A fault in any one of them can feel the same from the rider’s seat – no power when you pedal.
For San Diego riders, this often shows up after a wet ride, a hard pothole hit, a battery that was stored in heat, or a connector that worked loose over time. The good news is that many pedal-assist problems can be narrowed down quickly with a methodical inspection. The key is separating a basic setup issue from an electrical fault that needs proper testing.
Start With the Symptoms, Not the Parts
Before taking anything apart, pay attention to exactly what the bike is doing. Does the display turn on normally? Does the throttle work while pedal assist does not? Does the motor engage for a second and then quit? Is there an error code? Those details point the diagnosis in different directions.
If the throttle works but pedal assist does not, the battery, controller, and motor may still be functioning. That makes the pedal-assist sensor, its magnet ring, its wiring, or its controller input more likely suspects. If neither throttle nor pedal assist works, the problem may be farther upstream, such as a low-voltage battery, blown fuse, damaged main wiring, failed controller, or an active brake cutoff.
A motor that runs only at certain pedal positions can indicate a loose cadence sensor magnet disc or a damaged sensor cable. A bike that provides weak assist, especially on hills, may have a battery voltage drop under load, a controller limitation, motor phase-wire trouble, or a battery management system issue. These are different repairs, even though they can all be described as “pedal assist not working.”
How Ebike Pedal Assist Actually Works
Most e-bikes use one of two pedal-assist systems. A cadence sensor detects that the crank is turning. It uses a ring of magnets near the bottom bracket and tells the controller to apply power after you begin pedaling. This system is common on commuter, fat-tire, and moped-style e-bikes because it is simple and effective.
A torque sensor measures how hard you are pushing on the pedals. It delivers a more natural response, but it is more sensitive to calibration, wiring, and communication faults. Torque sensors may be integrated into the bottom bracket, rear dropout, crank area, or proprietary motor system.
In both cases, the controller receives sensor information and decides how much power to request from the battery. The display may determine the selected assist level, while brake levers can tell the controller to shut motor power off. That means a pedal-assist problem is not always a pedal sensor problem.
Quick Checks Before Repairing Ebike Pedal Assist
A few safe checks can prevent an unnecessary repair visit. First, fully charge the battery using the correct charger, then confirm that it locks firmly into its mount. A battery can show a healthy charge on its indicator yet sag under load because of worn cells, a weak connection, or a BMS fault.
Next, turn on the bike and look carefully at the display. Confirm that pedal assist is not set to level zero and that walk mode is not being mistaken for normal assist. If the display shows an error code, write it down exactly. Error codes are useful, but they are not always a final diagnosis. A code may identify a communication circuit or sensor input without proving which component caused the fault.
Inspect the area around the crankset. On a cadence-sensor bike, the magnet disc should be secure, aligned, and close to the sensor pickup. A disc that has shifted, cracked, or collected heavy debris may not pass the sensor correctly. Check for a pinched, cut, or stretched cable where the sensor wire routes toward the frame.
Also test the brake levers. Many e-bikes use motor-inhibitor switches inside the levers. If a switch is stuck or its connector is damaged, the controller may believe a brake is being applied all the time. The display may look normal, but pedal assist will remain disabled. Do not bypass safety wiring as a permanent fix. It is better to identify whether the lever, connector, or controller input is causing the issue.
Common Faults We Find
Loose or corroded connectors are frequent causes of intermittent assist. E-bike connectors can look fully connected while one pin is pushed back, bent, oxidized, or only partly seated. This is especially common around the handlebar display, controller compartment, bottom bracket, and rear hub motor cable. Pulling connectors apart without marking them or forcing mismatched plugs can create more problems, so use care.
Damaged pedal sensors are another common failure. Cadence sensors can be cracked by debris or knocked out of position. On torque-sensor systems, an internal sensor fault may require manufacturer-specific testing or replacement. If the bike has a proprietary electrical system, installing a generic sensor usually will not solve the problem and can create compatibility errors.
Controller faults can mimic sensor failure. The controller supplies reference voltage to sensors and interprets their signals. If it has water damage, failed internal components, burnt connector terminals, or a damaged input circuit, it may not recognize pedaling even when the sensor is good. A technician can test voltage, continuity, and signal behavior instead of replacing parts by guesswork.
Battery problems also deserve attention. A weak battery may power the display and lights but shut down or limit current when the motor asks for more. Heat exposure and age can affect cell performance, while a BMS can cut output because of imbalance, overcurrent protection, or internal failure. This is why checking only the battery’s external charge indicator is not enough.
Finally, hub motor issues can affect how pedal assist feels. Hall sensor failures, damaged phase wiring, or a partially shorted motor can cause jerky engagement, vibration, error codes, or sudden power loss. These faults require electrical testing, not just a mechanical tune-up.
When a DIY Fix Makes Sense
Basic adjustments are reasonable if you can clearly see the issue. Reseating a loose battery, charging it correctly, selecting the proper assist level, cleaning dirt from a sensor area, or securing a visibly shifted magnet ring are all sensible first steps. Take photos before unplugging anything, and keep power off while inspecting connectors.
Stop and seek professional service if the wiring is melted, the battery case is swollen, the bike smells burnt, a connector gets hot, or the system repeatedly shuts down. Never open a lithium-ion battery pack or probe high-current battery connections without the right equipment and experience. Battery repair carries real fire and shock risks, and an incorrect repair can damage the controller, motor, or charger as well.
It also makes sense to bring the bike in when the problem is intermittent. A bike that works perfectly on a repair stand but cuts out while riding often needs load testing, harness inspection, and a closer look at vibration-sensitive wiring. Those problems are frustrating, but they are usually traceable with a diagnostic process.
What a Proper Pedal-Assist Diagnosis Includes
A useful diagnosis does more than plug in a new part. It begins with checking battery voltage and voltage behavior under load, reading display errors, and inspecting visible wiring and connectors. From there, the technician tests pedal sensor alignment and output, brake cutoff function, controller power and reference signals, and motor communication where applicable.
The goal is to identify the failed component and the reason it failed. For example, replacing a damaged cadence sensor will not be a lasting repair if the sensor wire was being pulled tight at full steering lock. Replacing a controller without finding a corroded motor connector can lead to the same failure again.
At FixEbike, we approach pedal-assist complaints as an electrical system diagnosis, not a parts-swapping exercise. That matters for riders with hub-drive bikes, fat-tire models, commuter e-bikes, and moped-style bikes that may have different sensor layouts and controller logic.
If your e-bike still rides like a regular bicycle but no longer helps when you need it, avoid forcing the system or repeatedly cycling the power in hopes that it clears itself. Note the symptoms, protect the battery from heat and moisture, and get the fault checked before a small connection or sensor problem turns into a stranded ride.