A lot of e-bike problems get blamed on the controller too quickly. The bike will not power up, the motor jerks, the throttle stops responding, or the display flashes an error, and the controller becomes the automatic suspect. Sometimes that is correct. Just as often, proper ebike controller troubleshooting shows the real issue is a weak battery, damaged phase wire, failed brake cutoff, bad hall sensor signal, or a communication fault between components.
That matters because controllers are not cheap, and replacing the wrong part wastes time and money. If your e-bike has suddenly lost power or started acting unpredictably, the goal is not to guess. The goal is to isolate the fault.
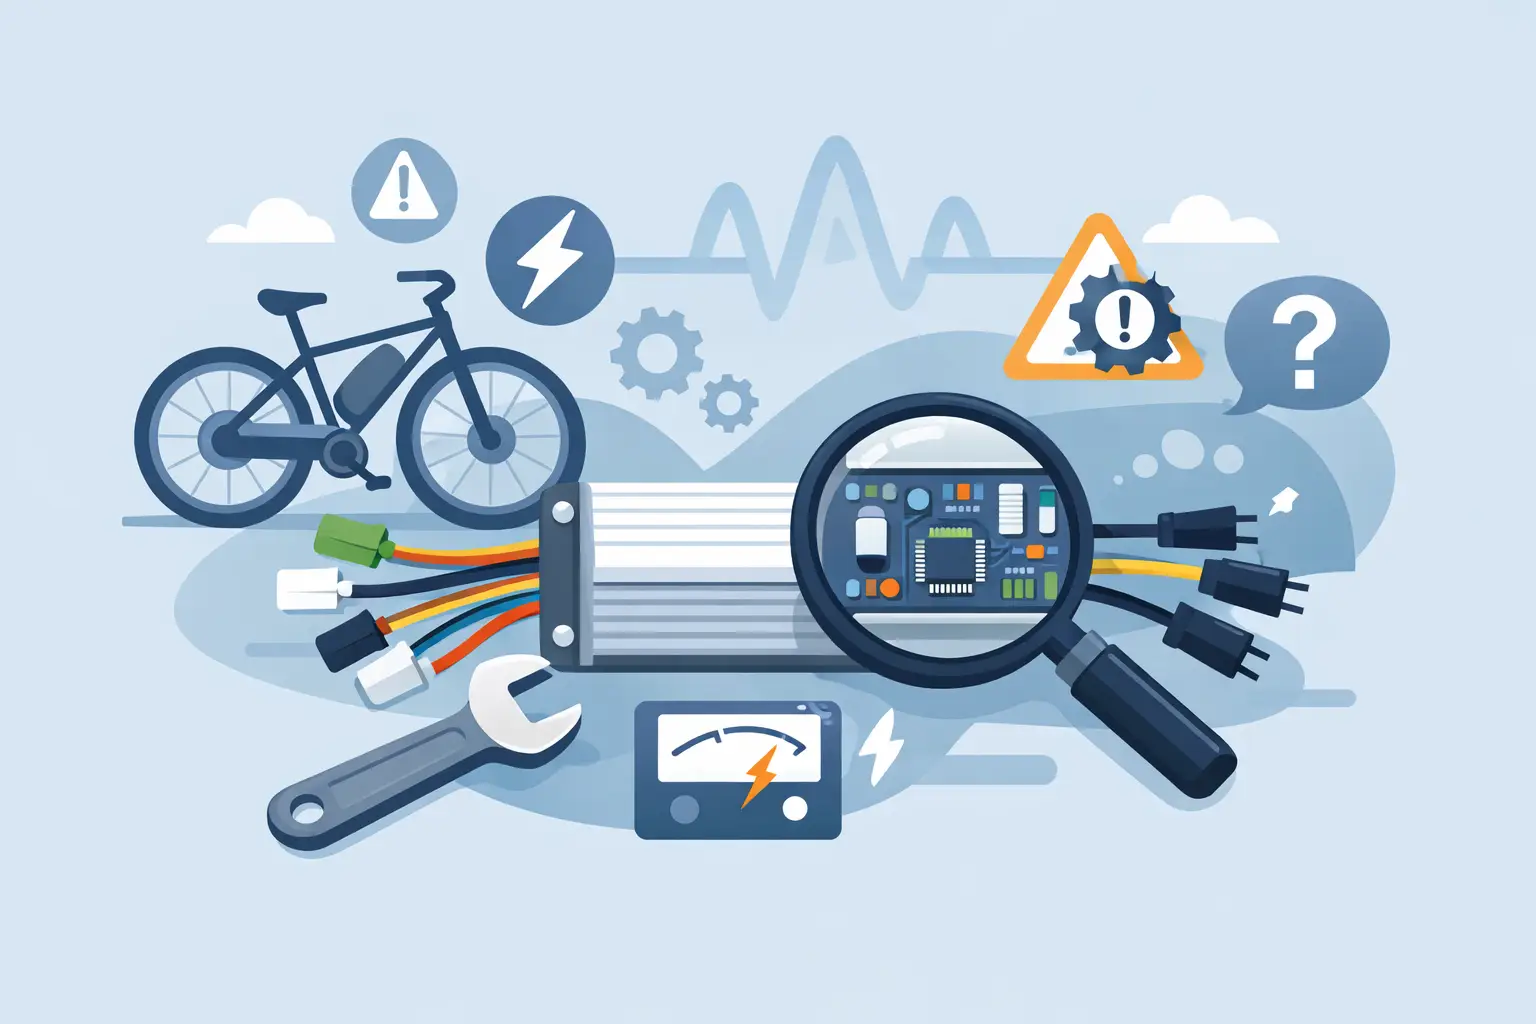
What the controller actually does
The controller is the traffic manager for the bike’s electrical system. It takes power from the battery, interprets signals from the throttle, pedal assist sensor, brakes, display, and motor sensors, and then sends the right amount of current to the motor.
When the controller fails, symptoms can look dramatic. The bike may not turn on, the motor may shudder under load, power may cut in and out, or the wheel may spin roughly and make noise. The problem is that several other parts can create those same symptoms. That is why diagnosis has to be methodical.
Start ebike controller troubleshooting with the basics
Before assuming an internal controller fault, check the simple things first. A battery that shows voltage at rest can still sag badly under load. A display can power on even when there is not enough current available to drive the motor. A loose connector can mimic a failed controller because the signal path gets interrupted only when the bike vibrates or pulls current.
Start with battery charge level, battery connection fit, and whether the display powers up normally. If the display is dim, flickers, or resets when you touch the throttle, that points toward a power delivery issue before it points to a controller failure.
Then inspect the main harness and visible connectors. Look for bent pins, corrosion, water intrusion, melted plastic, or connectors that feel half seated. On moped-style and fat-tire bikes, this is especially common near the head tube and under the frame where cables flex and get pulled.
Symptoms that often get blamed on the controller
A true controller problem usually shows up as one of a few patterns, but each pattern still needs confirmation.
The bike will not turn on
If there is no display power at all, the controller may not be receiving battery voltage, or the system may be stopped upstream by a fuse, battery lock issue, bad ignition line, damaged power lead, or BMS shutdown. Some bikes route the on-off function through the display, so a display or communication problem can also make the bike appear dead.
The display turns on but the motor does nothing
This is one of the most common complaints. The controller may be fine, but the system may be seeing a stuck brake cutoff, failed throttle, bad pedal assist sensor, hall sensor fault, or damaged motor phase connection. If the display is on and stable, the next step is to check what input the controller is missing.
The motor jerks, grinds, or runs rough
Rough startup or choppy power is often associated with hall sensor problems, phase wire issues, or partial controller output failure. It depends on the bike. A controller with damaged MOSFETs can create this symptom, but so can a motor harness with one failed hall wire.
The bike cuts out under load
This can be controller overheating, but it is also a classic battery voltage drop symptom. Riders often notice it on hills, during hard acceleration, or when carrying cargo. If power returns after a short rest, the battery or BMS deserves just as much attention as the controller.
How to narrow down the fault
Good ebike controller troubleshooting is less about swapping parts and more about checking the system in layers.
First, verify battery voltage at the pack and, when possible, at the controller input. If there is proper voltage at the battery but not at the controller, the problem is in the path between them. That could mean a connector issue, damaged wiring, fuse problem, or battery mount contact issue.
Next, check whether the controller is getting valid input signals. If the brakes are stuck in cutoff mode, the controller may block motor output completely. If the throttle signal is out of range, the controller may ignore it. If pedal assist is the only thing not working, the controller may still be fine and the PAS sensor may be the failure point.
Then evaluate motor output behavior. A motor that hums but does not spin, twitches, or spins backward in unusual ways may have hall and phase issues. That does not automatically mean the controller is bad, but it tells you the fault is deeper than a display setting.
Common causes that are not controller failure
This is where a lot of riders save themselves from unnecessary replacement costs.
Brake cutoff switches are a frequent culprit. If one brake lever tells the system the brake is engaged all the time, the bike may refuse throttle and pedal assist even though everything else powers up normally.
Battery problems are another major one. A battery can look charged and still fail under load because of cell imbalance, internal resistance, poor spot welds, or BMS issues. On the surface, it can feel like a bad controller because the bike powers on but will not deliver usable power.
Wiring faults are everywhere on hard-used bikes. Delivery riders, off-road riders, and riders who transport bikes on racks often end up with stretched harnesses, rubbed-through insulation, or loose waterproof connectors. Intermittent issues especially point toward wiring, because controller failure is often more consistent once it happens.
Motor hall sensor faults can also mimic controller trouble. If the controller is not getting accurate rotor position feedback, the motor may stutter, draw excess current, or fail to start smoothly. The symptom shows up at the controller, but the root cause is in the motor.
Signs the controller may actually be bad
There are times when the controller is the problem. Burnt smell from the controller case, visible heat damage, water intrusion, or repeated fuse blowing after confirming the rest of the system are strong indicators.
Another sign is when proper battery voltage reaches the controller, input devices test correctly, wiring checks out, and motor connections are confirmed, but the controller still does not send the correct output. On some bikes, you may also see specific communication or current faults that continue after known-good components are tested.
Internal controller failures can involve damaged MOSFETs, failed capacitors, voltage regulator issues, or communication board faults. Those are not visible from the outside, and symptoms can overlap with several other problems. That is why replacing the controller should come after testing, not before it.
When DIY makes sense and when it does not
Basic inspection is reasonable for most owners. You can check battery seating, connector fit, obvious wire damage, and whether brake levers are triggering cutoffs. You can also note whether the issue happens all the time or only under load, after charging, or after hitting bumps. That information helps narrow things down quickly.
Where DIY gets risky is probing live connectors without the right meter settings, forcing mismatched replacement parts, or installing a controller that is not properly matched to the motor, display, battery voltage, and communication protocol. On newer systems, parts may physically connect but still not speak the same language.
That is especially true on bikes with integrated displays, proprietary harnesses, or smart communication between battery, controller, and screen. A generic controller swap can create more faults than it solves.
What a proper diagnostic should include
A real diagnostic process should confirm battery health, controller input voltage, signal integrity from throttle and brake sensors, motor phase continuity, hall sensor behavior, and whether the display is communicating correctly. It should also account for load-related voltage drop, not just static battery readings.
That is the difference between guessing and fixing. At FixEbike, controller diagnostics usually involve verifying whether the controller is failing itself or simply reacting to another electrical problem in the system. For riders in San Diego dealing with confusing no-power or cutout issues, that distinction saves a lot of unnecessary parts replacement.
A smart next step if your e-bike is acting up
If your bike powers on but will not move, cuts out randomly, or gives mixed electrical symptoms, do not start with the most expensive part. Start with the pattern. Does it fail only under load? Does it happen after bumps? Does the display stay on when the motor stops? Those details tell the story faster than guessing ever will.
The best repair usually starts with patience and a meter, not a parts order. When the controller really is the problem, good testing makes that clear. When it is not, you avoid replacing a healthy part and get much closer to the real fix.