
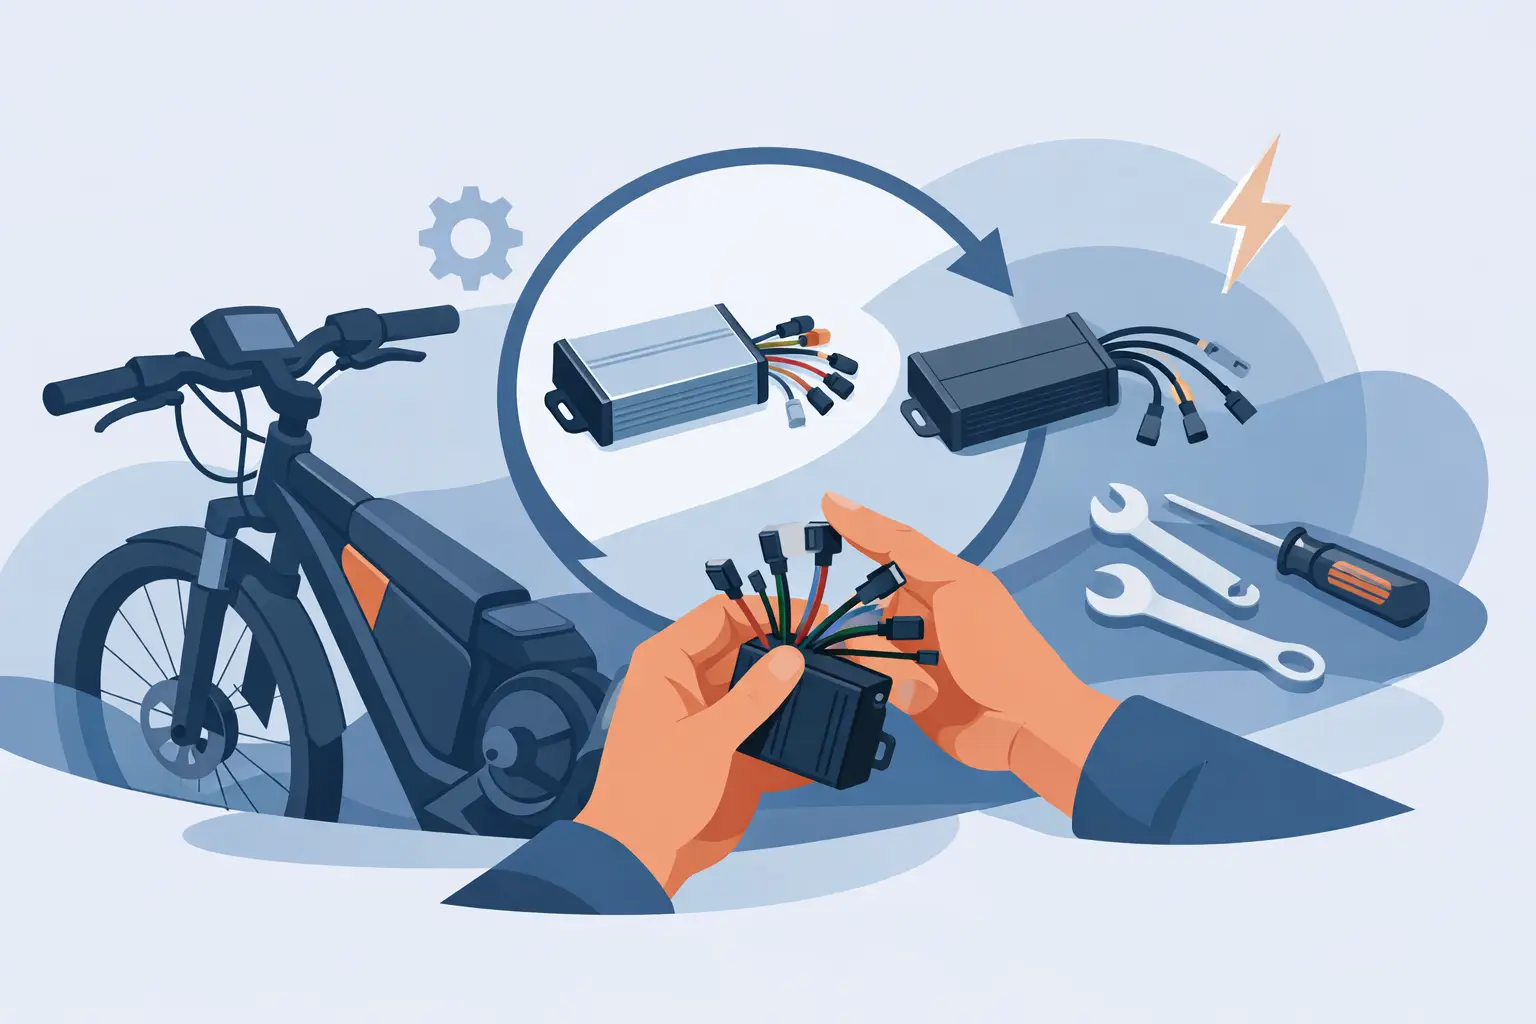
A controller is the traffic manager of an e-bike. It takes power from the battery, reads input from the throttle, pedal-assist sensor, brakes, display, and motor sensors, then decides how the motor should respond. When it fails, the bike can feel completely dead, surge unexpectedly, show error codes, or lose power under load. This guide to ebike controller replacement helps you separate a likely controller failure from the many problems that can look exactly like one.
Replacing the wrong part is an expensive way to stay stranded. A new controller will not fix a weak battery, damaged motor cable, failed hall sensor, corroded connector, or brake cutoff switch that is telling the system not to run. The best repair starts with diagnosis, not parts swapping.
When an Ebike Controller Is Actually the Problem
A failed controller can produce several recognizable symptoms. The bike may power on normally but provide no motor assist. It may run briefly and then cut out when climbing a hill or accelerating. In some cases, the motor shudders, hums, or runs roughly because the controller is not correctly reading or driving the motor phases and hall sensors.
Heat and water are common causes. Controllers work hard on steep San Diego grades, during repeated stop-and-go riding, and on heavier fat-tire or moped-style e-bikes. Excess heat can damage internal MOSFETs, which are the switching components that send power to the motor. Water intrusion, especially through an unsealed controller box or damaged wiring harness, can corrode terminals or create a short.
Still, controller replacement should not be the first assumption. Similar symptoms can come from a battery that drops voltage under load, a BMS that shuts down during high current demand, a loose battery cradle connection, or a motor cable with a broken conductor hidden inside the insulation. If the display stays on but the motor cuts out only when you demand power, voltage testing under load is often more useful than simply checking whether the battery appears charged.
Signs that point more directly to controller damage
Burning smell from the controller area, visible melted wiring, a controller case that gets abnormally hot within minutes, or a blown fuse immediately after connecting power are stronger clues. So is a controller that has been exposed to a hard impact or was connected to the battery with reversed polarity.
A no-assist condition after replacing a throttle, display, or motor can also be a compatibility issue rather than an internal failure. Many systems require matching communication protocols, connector pinouts, voltage ranges, and motor sensor arrangements. A plug that physically fits is not proof that the part is electrically compatible.
Diagnose the System Before Ordering Parts
Start with the simple checks. Confirm the battery is fully seated and switched on, inspect the battery terminals for heat damage or discoloration, and make sure the display is not reporting a specific error code. Check that both brake levers return fully. A stuck brake cutoff sensor can disable motor output while leaving the rest of the bike powered on.
Next, inspect the wiring route from the battery to the controller and from the controller to the motor. Look for pinched wires near folding hinges, sharp frame edges, rear axle exits, and controller compartment openings. On hub-motor bikes, the motor cable near the axle is especially vulnerable. A cable can look fine from the outside while its internal phase or hall-sensor wiring is damaged.
A proper electrical diagnosis usually includes battery voltage, voltage drop under load, continuity checks, hall sensor testing, phase-wire inspection, and connector condition. On some e-bikes, technicians also need to verify display-to-controller communication. This matters because a communication error may prevent assist even when the battery, motor, and controller hardware are functional.
Do not bypass brake sensors, fuses, or safety circuits just to see whether the bike will run. That may create a new problem and can damage the replacement controller. If a fuse blows repeatedly, there is a reason – often a shorted controller, damaged wiring, or motor fault that must be found first.
Matching a Replacement Controller Correctly
Controller replacement is not universal. The replacement must match the system closely enough to operate safely and predictably. Voltage is the starting point. A 48V controller is not automatically suitable for a 48V battery, because the system may use different current limits, communication settings, motor types, and connector layouts.
Check the original controller label whenever possible. Useful details include nominal battery voltage, low-voltage cutoff, maximum current, motor wattage range, connector labels, and model number. Take clear photos of every connector before unplugging anything. Connector colors are not always standardized, particularly on imported e-bikes, so label placement and pin count matter more than wire color alone.
The replacement also needs to suit the motor. A brushless hub motor may use three thick phase wires and a hall-sensor connector, while some systems use sensorless operation or proprietary combined cables. Mid-drive systems and branded commuter e-bikes can have controller logic built into another component, such as the battery mount, motor assembly, or display. In those cases, a generic controller may not communicate at all.
Current rating is another trade-off. A higher-amp controller may sound like an upgrade, but it can overheat a motor, strain the battery and BMS, shorten range, or damage undersized wiring. A lower-current controller may work but leave the bike noticeably slower on hills. The right choice is usually the controller designed for the complete electrical system, not the highest number on the label.
How to Replace an Ebike Controller Safely
If you have a confirmed compatible part and are comfortable working around high-current electrical systems, replacement is manageable on many non-proprietary e-bikes. Work with the battery removed or fully disconnected. Do not rely only on the display power button, since battery voltage can still be present at the controller input.
Before removing the original controller, photograph the installation and label each connection. Note how wires are routed and secured. Controller compartments are often tight, and reinstalling wires incorrectly can pinch insulation against a sharp metal edge or place strain on a connector.
Disconnect connectors by their housings, not by pulling on wires. Inspect each plug for bent pins, moisture, green corrosion, or darkened plastic from heat. If a connector is burned, replacing only the controller may not be enough. The connector and any heat-damaged section of wire should be repaired before the new controller is energized.
Mount the new controller where it can shed heat and where its wiring is protected from spray and tire debris. Do not seal a controller into foam or pack it tightly against the battery if the original design relied on airflow. Secure loose wires so they cannot contact the chain, wheel, suspension, or steering stops.
After reconnecting the system, lift the drive wheel off the ground before testing. Power on the bike, verify the display and brake cutoffs, then apply light throttle or pedal assist. Listen for smooth motor operation. Only after a successful unloaded test should you perform a short, low-speed road test. Check for unusual heat, error codes, hesitation, or a sudden voltage drop.
When Professional Controller Diagnosis Makes More Sense
Controller replacement becomes much less straightforward when the bike has proprietary electronics, an integrated battery, a CAN-bus display, unusual error codes, or prior water damage. It is also worth getting help when a controller failed after a crash, a blown fuse, or a motor cable problem. Installing a new controller before finding the original cause can damage the new part immediately.
For riders in the San Diego area, FixEbike can test the full system rather than guessing at a single component. That includes battery output, BMS behavior, phase and hall wiring, controller operation, display communication, and motor faults. This approach is especially useful for bikes that cut out under load, show intermittent errors, or have already received a replacement part without solving the problem.
A Controller Should Be the Last Guess, Not the First
The controller is central to e-bike performance, but it is only one part of a connected system. A careful diagnosis protects your battery, motor, and wallet, while the correct compatible controller restores the power delivery your bike was designed to have. If your e-bike has become unreliable, stop riding it hard until the fault is identified – catching a wiring or heat issue early can prevent a routine repair from becoming a much larger one.