
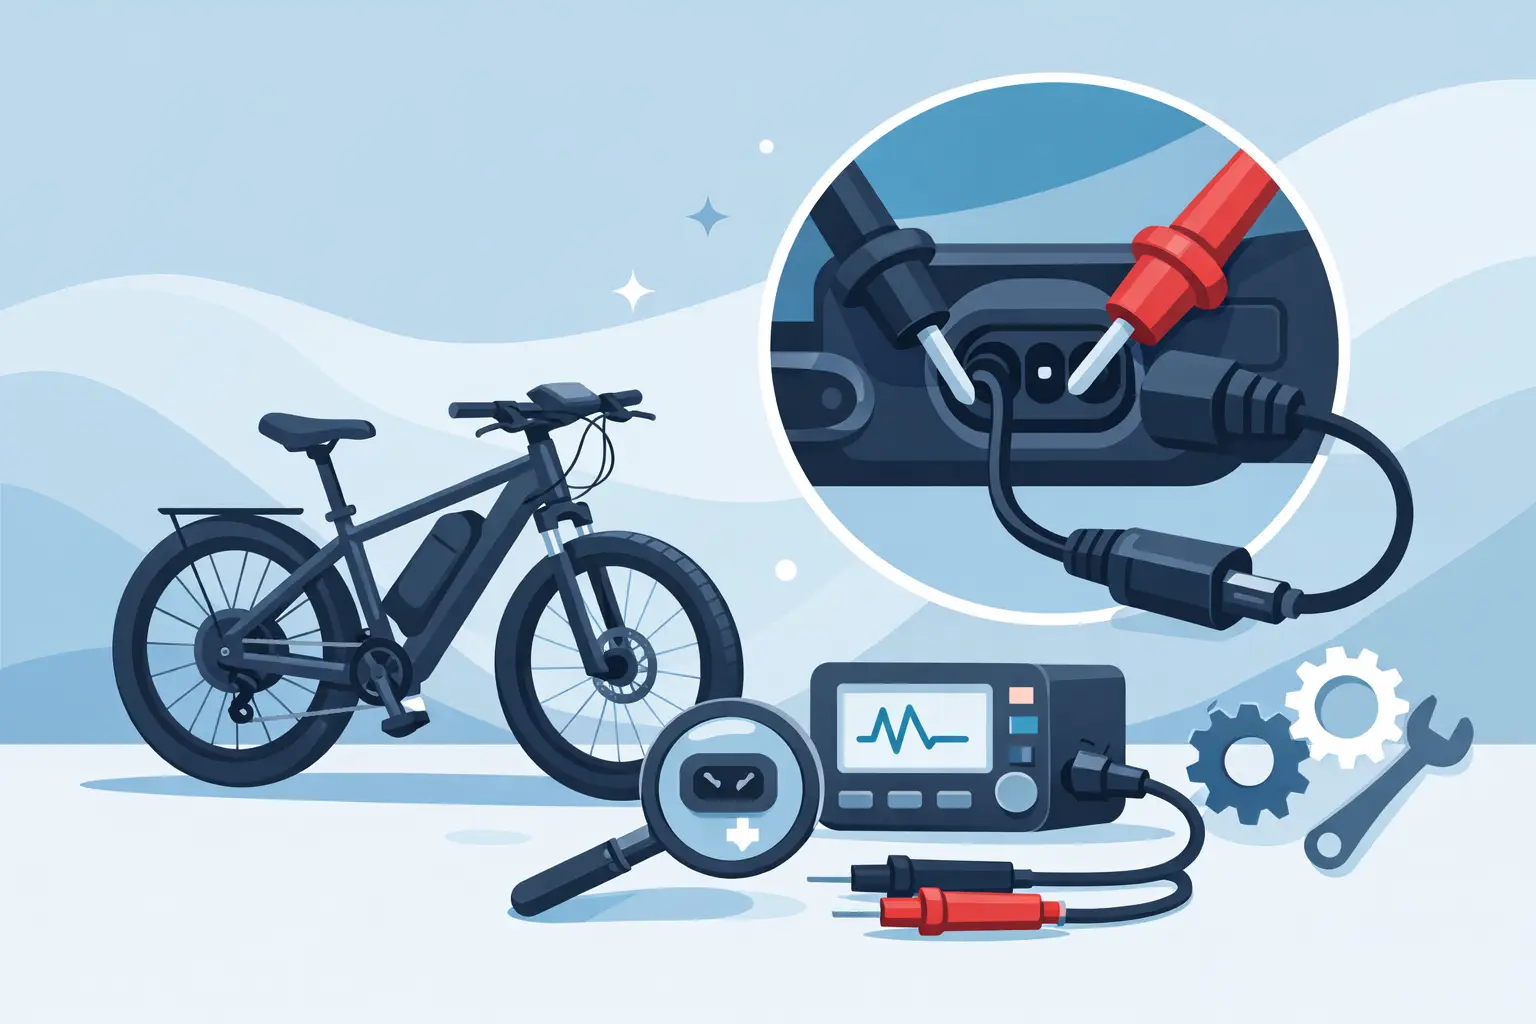
A charging problem can look simple: the charger is plugged in, but the battery will not charge. In practice, a guide to diagnosing ebike charging ports starts with one fact – the port is only one part of a charging circuit. The fault may be inside the port, in the charger, battery wiring, battery management system, or the battery itself. A careful inspection helps narrow it down without damaging expensive components.
For San Diego riders, charging-port trouble often shows up after months of regular commuting, garage storage, coastal moisture exposure, or a bike taking a tip-over on the rack. A loose connection can become an intermittent charge failure long before the port visibly breaks.
Start With Safety, Not a Meter
An e-bike battery stores enough energy to damage wiring, melt connectors, or create a fire risk if it is shorted. Turn the bike off, remove the battery if your model allows it, and unplug the charger from the wall before inspecting anything. Never insert a screwdriver, paper clip, or random metal object into a charging port.
Do not assume every round charge connector uses the same pin arrangement or voltage. Many e-bikes use barrel-style ports, XLR connectors, magnetic connectors, or proprietary multi-pin plugs. Even ports that look alike may be wired differently. Using the wrong charger or testing the wrong pins can damage the battery management system, also called the BMS.
If the battery is swollen, hot, leaking, smells burnt, or has been exposed to significant water, stop charging it. Set it on a nonflammable surface away from living areas and have it professionally evaluated. A charging-port diagnosis is no longer the priority when a battery shows signs of internal damage.
Check the Charger Before Blaming the Port
A failed charger is common and easier to rule out than a battery or port fault. Plug the charger directly into a known working wall outlet, then look at its indicator light. Charger light patterns vary by brand, but many show green when powered with no battery connected and red while actively charging.
A light that never turns on points toward the outlet, power cord, charger fuse, or charger electronics. A charger that stays green when connected to a low battery may not be delivering current, but it can also mean the battery BMS has blocked charging. The light alone is a clue, not a final answer.
Inspect the charger plug under good light. It should be straight, clean, and firmly attached to the cable. If the cable is split near the plug, the connector gets unusually warm, or the plug wiggles in the port, stop using it. Flexing at the strain relief is a frequent cause of broken internal wires, especially on chargers carried in backpacks or left hanging from a bike.
A technician can verify charger output with a multimeter using the correct expected voltage and pinout. For example, a nominal 48V lithium-ion battery typically needs a charger output near 54.6V, while a nominal 36V battery typically uses a charger near 42V. Those numbers are not interchangeable, and they do not confirm that the charger can deliver current under load. Still, they provide a useful starting point.
Inspect the Charging Port Closely
With the battery disconnected from the charger, inspect the port from the outside. Look for dirt, sand, green or white corrosion, bent center pins, pushed-in contacts, cracked plastic, loose retaining nuts, or heat discoloration. A port should hold the plug securely without excessive side-to-side movement.
A little dust can be removed with a dry, soft brush or compressed air used carefully. Do not flood the port with water, household cleaner, or lubricant. If cleaning is needed, a small amount of electronics-safe contact cleaner applied properly can help, but it will not repair a burned contact, broken solder joint, or corroded wire behind the port.
Corrosion is especially worth checking for riders near the coast or those who wash their e-bike regularly. Moisture can travel behind a rubber port cover and sit around the terminals. What begins as a slight charging interruption can create resistance, heat, and eventually a charred connector.
Signs the Port Is Physically Damaged
A damaged charging port often leaves clear evidence. The charger may only work when held at a certain angle, disconnect when the cable moves, or require repeated attempts before the charge light changes. In more serious cases, the connector becomes warm, smells electrical, or shows blackened plastic around a terminal.
Do not keep “finding the right angle” to make it charge. Movement at a loose contact creates arcing and heat. That can turn a straightforward port replacement into battery wiring or BMS repair.
Separate Port Faults From Battery Faults
The charging port is commonly connected to the battery through short internal wires. On some batteries, those wires are soldered directly to the port. On others, they connect through a small harness, fuse, or BMS board. A port can look perfect from the outside while its positive lead, negative lead, or solder joint has broken internally.
Battery behavior provides useful clues. If the e-bike powers on and rides normally but will not accept a charge, the charger, charge port, charge-side fuse, or BMS charge circuit becomes more likely. If the bike does not power on and does not charge, the issue could be a deeply discharged battery, failed BMS, blown fuse, damaged discharge wiring, or a broader internal battery fault.
A battery that briefly begins charging and then stops can have several causes. It may have an intermittent port connection, an overheated battery, cell imbalance, or a BMS protecting the pack from an unsafe condition. This is why replacing the port based on symptoms alone is not always the right repair.
Some batteries have separate charge and discharge paths. That means a bike can still run even when the charge circuit has failed. Other systems route charging through the same primary connector used to power the bike. The design matters, and it depends on the manufacturer and battery configuration.
Test Voltage Only When You Know the System
Voltage testing can pinpoint a failure, but it is not a casual DIY step. The technician must know the battery’s nominal voltage, full-charge voltage, connector pinout, and whether the BMS is awake or in protection mode. A wrong probe placement can short terminals instantly.
At a repair bench, diagnosis may include checking charger output, measuring voltage at the port, testing continuity from the port to battery wiring, inspecting the charge fuse, and evaluating the BMS response. If voltage reaches the port but not the battery cells, the internal harness or BMS may be at fault. If the port has no voltage where it should, the port connection, fuse, or wiring needs closer attention.
There is a trade-off with sealed batteries. Opening a case may be necessary for an accurate repair, but it must be done without damaging the enclosure, insulation, cell holders, or water resistance. On lower-cost battery cases, a cracked port mount can also mean the case itself needs reinforcement or replacement.
Common Charging-Port Problems We See
The most frequent failures are not always dramatic. Loose port mounting hardware can stress the wire every time the charger is inserted. Bent pins can make partial contact. Corrosion can increase resistance enough to confuse the charger or generate heat. A failed barrel connector can split internally while appearing normal on the outside.
We also see ports damaged by incorrect chargers. A plug may physically fit but deliver the wrong voltage or polarity. Another common issue is a charger cable pulled sideways by a bike leaning against a wall, which breaks the port’s internal connection over time.
On moped-style and fat-tire e-bikes, the battery may be enclosed in the frame or mounted low where road spray collects. On commuter bikes with removable batteries, the problem may instead be at the battery’s charging socket or dock contacts. Scooters introduce another variation: their external port may be intact while the charge fuse or controller-area wiring is damaged.
When a Professional Diagnosis Makes Sense
Bring the bike or removable battery in for service if the port is loose, hot, burned, corroded, intermittent, or physically broken. Professional testing is also the safer choice when a charger seems functional but the battery will not accept a charge, when the battery has shut down unexpectedly, or when you are unsure whether the charger is correct.
At FixEbike, a diagnostic-first approach helps avoid replacing parts based on guesswork. The goal is to identify whether the problem is the connector, charger, wiring, fuse, BMS, or battery pack before recommending repair. That matters because a new port will not solve an internal BMS fault, and a new battery may be unnecessary when the real failure is a damaged $20 connector or wire.
Keep the port cover closed when riding, avoid leaving the charger cable under tension, and disconnect by gripping the plug rather than pulling the cord. If charging becomes intermittent, address it early. A clean, secure charging connection is one of the simplest ways to keep an e-bike dependable for the next ride.