
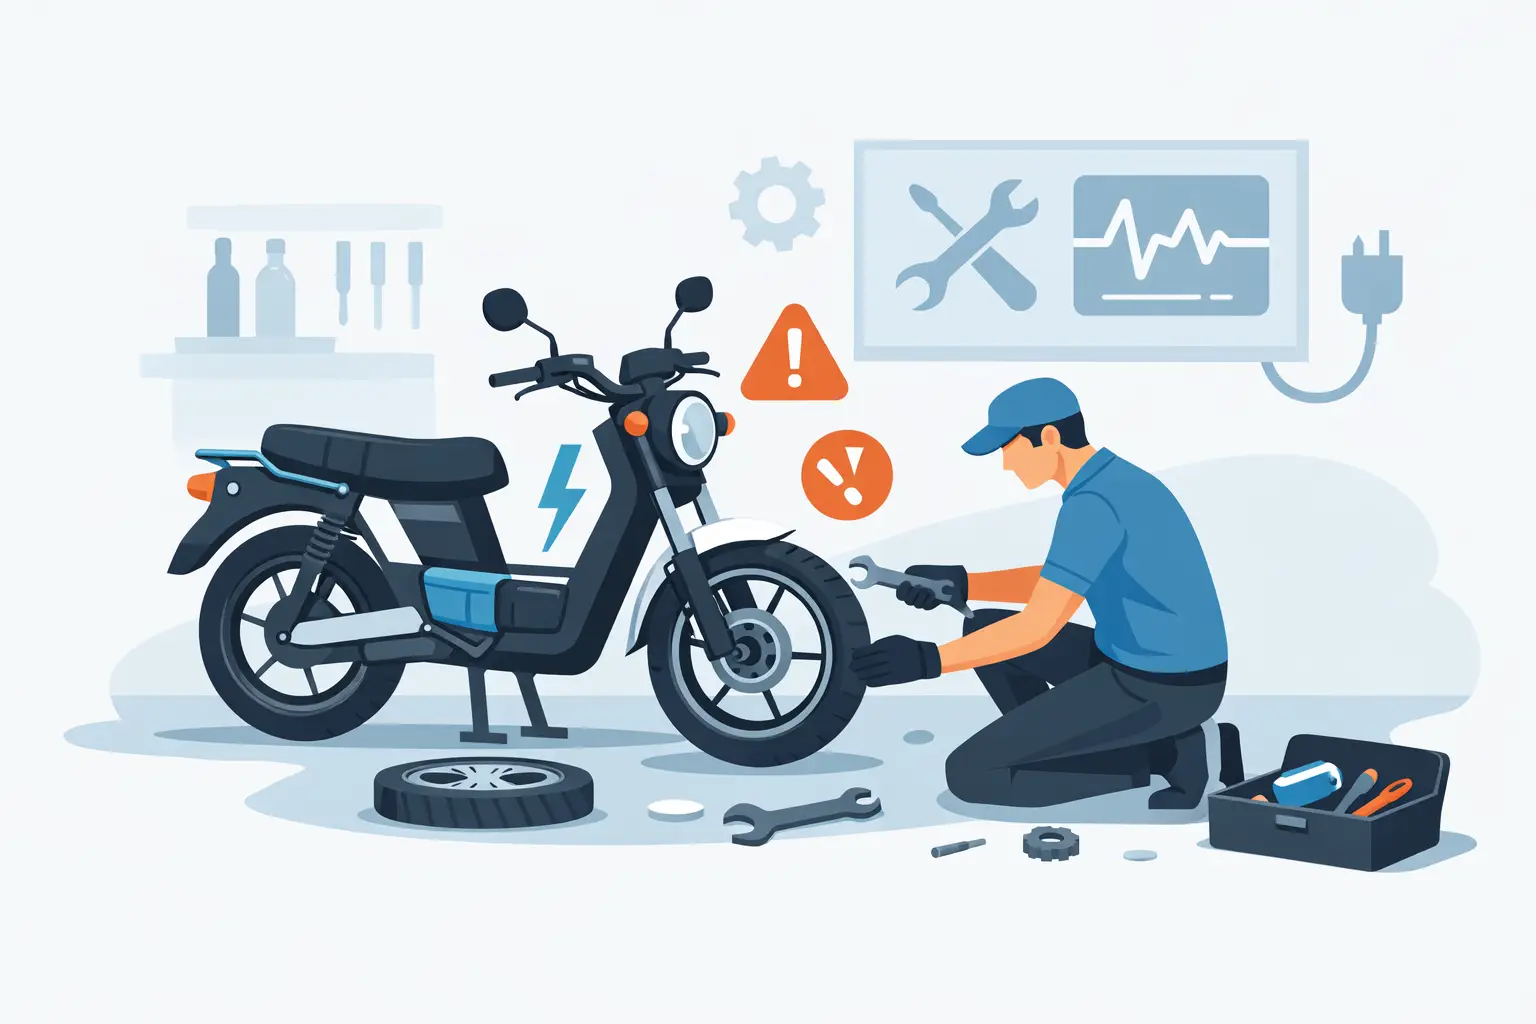
A moped-style e-bike can feel like the perfect San Diego vehicle – comfortable seat, fat tires, useful range, and enough power for commutes, errands, and neighborhood rides. But moped style ebike repair is different from servicing a basic pedal bike. These bikes carry more wiring, heavier batteries, higher-output controllers, and electrical systems that need proper diagnosis before parts are replaced.
When a bike loses power, will not charge, throws an error code, or makes an unusual motor noise, the visible symptom is not always the failed part. A battery issue can look like a controller issue. A damaged connector can imitate a failed motor. Getting to the root cause first prevents unnecessary expense and gets the bike back on the road faster.
Why Moped-Style E-Bikes Need Specialized Repair
Moped-style e-bikes are typically heavier than conventional e-bikes, often with wide tires, rear hub motors, integrated lights, turn signals, suspension, and large-capacity lithium batteries. That extra equipment makes them useful, but it also creates more potential failure points.
The electrical system is a chain. Battery voltage travels through the battery management system, main wiring harness, controller, display or ignition circuit, and motor. If one connector is loose, corroded, overheated, or incorrectly matched, the bike may cut out under acceleration or refuse to start altogether.
Mechanical wear matters too. A 70- to 100-pound bike puts real load on brake pads, rotors, tires, spokes, wheel bearings, and suspension hardware. Riders sometimes focus on the motor because it gets attention, while worn brakes or a loose rear axle are the more urgent safety issue.
The Most Common Moped Style Ebike Repair Problems
Battery Will Not Charge or Loses Range Fast
A charger light turning green does not automatically mean the battery is healthy. The charger may be functioning normally while the battery is not accepting a charge, the charge port may have a damaged connection, or the battery management system may be preventing charging because it detected an internal problem.
Rapid range loss can come from normal battery aging, but it can also point to cell imbalance, a BMS fault, a poor battery connection, low tire pressure, brake drag, or a controller that is drawing more current than it should. Battery repair starts with checking charger output, pack voltage, charge and discharge behavior, connectors, and the BMS rather than assuming a replacement battery is the only answer.
Lithium battery work is not a DIY experiment. Swollen packs, water intrusion, heat damage, burnt smells, or a battery that becomes unusually hot while charging should be inspected by a qualified e-bike technician. Do not keep charging a battery that shows those warning signs.
Motor Runs Rough, Stops, or Has No Power
Rear hub motors on moped-style e-bikes are reliable, but they are not immune to failures. A motor that pulses, shudders, starts only after a push, or runs weakly may have a hall sensor issue, phase wire damage, a controller fault, or a problem in the motor cable where it exits the axle.
That last area deserves close attention. The motor cable bends every time the rear wheel is removed or installed. If the cable is pinched, stretched, or rubbed through, internal conductors can break even when the outside jacket looks mostly intact. Water can also travel along damaged wiring and corrode the connection over time.
A motor that makes a grinding sound may have internal gear damage on a geared hub motor, while a direct-drive hub motor may have bearing, stator, or wiring concerns. The repair path depends on the motor design and test results. Replacing a controller before checking hall signals and phase wiring can waste money.
Display Turns On but the Bike Will Not Move
This is a common and frustrating fault. The display may show a full battery and no obvious error, yet throttle and pedal assist do nothing. In many cases, the issue is not the display itself.
Brake cutoff sensors are a frequent cause. If the system believes a brake lever is being pulled, it will block motor power for safety. A failed brake sensor, damaged lever wiring, or misaligned connector can leave the bike powered on but unable to drive. Pedal-assist sensor faults, throttle failures, controller communication errors, and loose main harness connectors can produce similar symptoms.
A proper diagnostic checks whether the controller is receiving battery voltage, whether it is sending the correct low-voltage reference signals, and whether the throttle, brakes, pedal sensor, display, and motor are communicating as expected.
Intermittent Power Cuts and Error Codes
If the bike works on flat ground but shuts off on hills or hard acceleration, start by looking for voltage drop, high-resistance connections, or an aging battery that cannot deliver current under load. This is different from a bike that will not power on at all.
Loose battery mounts and worn battery terminal contacts are especially common on heavier bikes that travel over potholes, curbs, and rough pavement. A battery may appear secure while its contacts move enough to interrupt power during vibration. Melted connectors, discolored terminals, or heat at the plug are signs that need immediate attention.
Error codes can be useful, but they are only a starting point. Codes vary by brand and display, and some identify a circuit rather than a specific failed component. For example, a motor communication error may be caused by the motor, controller, cable, connector, or water damage in the harness.
Brake, Tire, and Chassis Repairs Are Not Secondary
Electrical repairs get attention, but stopping and handling are just as important on a fast, heavy e-bike. Brake pads wear quickly when a rider relies on them for repeated downhill stops or carries cargo or a passenger. Hydraulic brakes may need pad replacement, rotor truing, a bleed, or caliper adjustment. Mechanical disc brakes need cable adjustment and regular inspection for stretched cables and worn housings.
Fat tires should be checked for tread wear, sidewall cracking, punctures, and correct pressure. Low pressure improves comfort but can reduce range, make steering feel vague, and increase the chance of pinch flats. The right pressure depends on the tire, rider weight, cargo, and riding surface.
Rear wheel service deserves extra care because the motor axle, torque hardware, wiring, and brake rotor all need to be installed correctly. On moped-style bikes, a loose axle nut or missing torque washer can damage the dropout and create a serious safety problem.
What to Check Before Bringing Your Bike In
You do not need to disassemble the bike to provide useful information. Note whether the problem started after a rainstorm, a crash, a battery swap, a flat repair, or a period of storage. Bring the charger and battery key if applicable, and take a photo of any error code before it disappears.
Check that the battery is fully seated and locked, inspect visible connectors for damage, and make sure no brake lever is stuck. Avoid repeatedly cycling the power or forcing a damaged plug together. A loose connection can sometimes become a burned connection when high current passes through it.
If you have installed aftermarket lights, alarms, controllers, throttles, or batteries, mention that during intake. Modifications are not automatically a problem, but component compatibility matters. A controller with the wrong voltage or current setting can damage a motor, battery, or wiring harness.
What a Diagnostic-First Repair Process Looks Like
A good repair begins with the rider’s symptoms and a visual inspection, followed by targeted electrical and mechanical testing. The goal is to confirm the failure, not guess based on the most common part replacement.
For electrical faults, that may include battery and charger voltage testing, voltage-drop testing under load, connector inspection, controller input and output checks, hall sensor testing, phase-wire evaluation, and communication checks between the display and controller. For mechanical concerns, the process includes brake inspection, wheel and axle security, tire condition, drivetrain wear, bearing play, and suspension hardware.
At FixEbike, difficult issues such as BMS faults, damaged motor cables, controller problems, and wiring failures are approached as system problems. That matters because the right repair may be a connector repair, a wiring repair, a component-level battery service, or a confirmed part replacement – not simply ordering the most expensive component first.
Maintenance That Prevents Larger Repairs
A few regular habits make a meaningful difference. Keep the battery out of prolonged extreme heat, charge it with the correct charger, and store it partially charged if the bike will sit for weeks. Keep connectors dry and protected, but do not pressure-wash the bike around the display, battery tray, motor cable, or controller area.
Check brake performance and tire pressure before longer rides. Listen for new clicking, rubbing, or grinding noises, especially after a rear tire change or curb strike. Addressing a small wiring rub or loose axle early is far less costly than waiting for a complete power failure.
When your moped-style e-bike starts acting differently, treat that change as useful information. A clear diagnosis turns a confusing fault into a practical repair decision and gives you a better chance of returning to dependable rides around San Diego.