
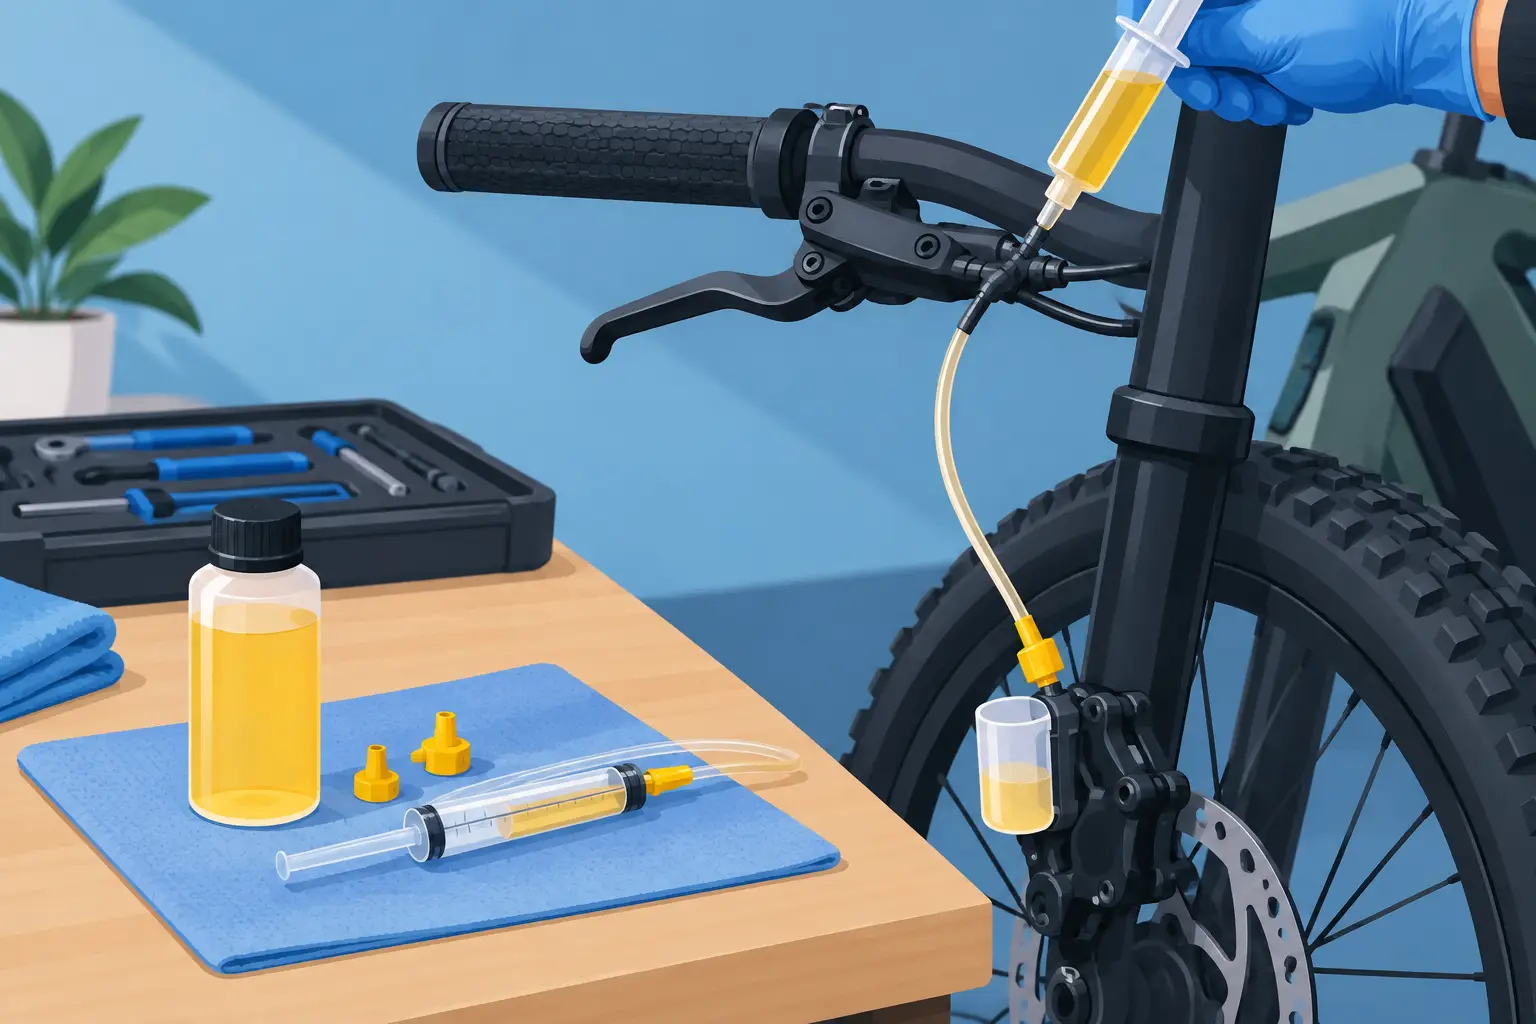
A brake lever that pulls close to the grip is more than an annoyance on a heavy e-bike. It can turn a normal stop into a long, unpredictable one. Learning how to bleed ebike brakes can restore a firm lever and consistent stopping power, but the job has to be done with the correct fluid, fittings, and procedure for your specific brake system.
Hydraulic brakes are common on commuter, fat-tire, moped-style, and off-road e-bikes because they provide strong braking with less hand effort. They also need occasional service. Air can enter the system during a hose repair, after a crash, through a slow leak, or simply as fluid and seals age. A proper bleed removes that air and replaces old fluid without contaminating the pads or rotors.
First, Confirm That Your Brakes Need Bleeding
A soft lever is the classic sign of air in a hydraulic line. Pull the lever slowly. If it feels spongy, travels farther than usual, or firms up after being pumped several times, a bleed may be the answer. Fluid that looks dark or discolored at the lever reservoir is another reason to replace it.
Not every weak-brake complaint is caused by air. Worn pads, a glazed rotor, a bent rotor, loose caliper bolts, sticking pistons, or a contaminated pad can all reduce braking performance. If the lever feels firm but the bike still does not stop well, bleeding alone will not fix the issue.
Check for leaks before opening the system. Look around the lever, hose fittings, caliper, and bleed port for wet spots or grime that keeps returning. A leaking hydraulic brake needs the failed hose, olive, barb, seal, or caliper component corrected first. Bleeding a system with an active leak only provides a short-term improvement.
Use the Correct Fluid and Bleed Kit
The most expensive mistake in brake bleeding is putting the wrong fluid into the system. Many Shimano, Tektro, and Magura brakes use mineral oil. Many SRAM systems use DOT brake fluid, commonly DOT 4 or DOT 5.1. These fluids are not interchangeable. Mixing them can damage internal seals and lead to brake failure.
Confirm the brake model printed on the lever or caliper, then use the manufacturer-specified fluid and a bleed kit that fits its ports. Do not assume all e-bike brakes use the same system just because the bike has a familiar brand name. Lower-cost e-bikes may use hydraulic brakes with model-specific fittings, while some use cable-actuated calipers that do not require hydraulic bleeding at all.
For a clean, controlled job, have the correct fluid, bleed syringe or funnel, hose fittings, bleed block, clean gloves, lint-free towels, isopropyl alcohol, and the right hex or Torx tools ready. Keep a separate set of syringes and hoses for mineral oil and DOT fluid. DOT fluid can damage painted surfaces and should be cleaned immediately if spilled.
How to Bleed eBike Brakes Safely
Start with the bike secured in a stable stand or positioned so the brake lever is level. On many e-bikes, the display, wiring harness, and controls make handlebar positioning more crowded than on a standard bicycle. Move only what is necessary, and do not pull on brake cutoff wires or display cables while rotating the lever.
Remove the wheel and take out the brake pads before bleeding. This step matters. Brake fluid on a pad usually means replacement, not cleaning. Install the proper bleed block between the pistons to hold them in the correct position and prevent them from extending while the wheel is out.
Clean the caliper, lever, and surrounding area before opening either bleed port. Dirt near an open port can work its way into the system and create a new problem. Place towels below the lever and caliper to catch any drips.
Prepare the fluid without adding air
Fill the syringe or funnel with fresh fluid specified for your brakes. If using a syringe, point it upward and tap it to bring air bubbles to the top. Slowly push out the air in the syringe and hose before attaching it to the brake. You are trying to remove air from the brake system, not introduce a fresh pocket of it through the tool.
With a Shimano-style mineral-oil system, the lever often uses a small funnel while fluid is pushed gently from the caliper upward. With a SRAM-style DOT system, the procedure commonly uses a syringe at the caliper and another at the lever, allowing fluid and air to move back and forth between them. Follow the sequence designed for the brake model rather than forcing a generic method onto it.
Move air toward the open port
Open the bleed port carefully and attach the fitting without cross-threading it. Push fluid slowly. Fast pressure can create tiny bubbles, force fluid past seals, or make a mess at the lever. While fluid moves through the hose, gently tap the caliper body, hose, and lever with a plastic tool handle. Small air bubbles often cling inside these components and need that vibration to rise.
Watch for bubbles entering the funnel or syringe at the upper end of the system. On a two-syringe setup, move fluid back and forth slowly until bubbles stop appearing. On a funnel-style system, lightly cycle the lever according to the brake maker’s procedure while keeping enough fluid in the funnel to prevent air from being drawn back in.
Do not pull the lever fully to the handlebar if the system is open unless the manufacturer specifically instructs it. Excessive lever movement can pull air past the port or push fluid out of the tool. The goal is controlled fluid movement, not pressure.
Close the system and check the lever
Once bubbles have stopped, set the fluid level as required by the brake design, close the bleed port, and tighten it to the manufacturer’s specification. Do not overtighten a small bleed screw. Wipe the area thoroughly, remove the bleed block, and inspect for seepage around both ports and hose fittings.
Reinstall clean pads and the wheel. Spin the wheel to make sure the rotor runs freely through the caliper. Pull the lever several times. It should engage consistently and should not creep toward the grip while held under steady pressure. If it still feels soft, there may be air trapped at the lever, a worn seal, a damaged hose, or a setup issue with the caliper pistons.
Before riding, clean the rotor with isopropyl alcohol and a lint-free towel. Then test the brakes at low speed in a safe area. Avoid a steep hill, busy street, or fast trail until you know both brakes are working correctly.
Common Bleeding Mistakes That Create Bigger Repairs
The most common problem is fluid contamination. Pads absorb oil quickly, and even a tiny drip can cause squealing, reduced stopping power, and a replacement-pad bill. Removing pads before the job and covering nearby surfaces makes a major difference.
Another issue is using the wrong adapter or forcing a fitting. Bleed ports are small and easy to damage. A stripped caliper or lever port can turn routine maintenance into a component replacement. Riders also sometimes mistake a mechanical brake’s poor adjustment for a hydraulic bleed problem. If there is a cable running into the caliper, it may need cable adjustment, new housing, or pad service instead.
E-bike weight adds another layer of concern. A 70-pound bike carrying a rider, cargo, or a child seat places more load on the brakes than a lightweight road bike. If the pads are thin, the rotor is below its minimum thickness, or the caliper has a leak, do not rely on a firmer lever alone.
When Professional Brake Service Makes Sense
A home bleed is reasonable for riders with the correct tools, clean workspace, and confidence working with hydraulic components. It is less suitable when the brake brand is unknown, the hose is leaking, the lever piston is sticking, the caliper pistons do not retract, or the system has been contaminated with the wrong fluid.
Professional diagnosis is also worthwhile when an e-bike has brake cutoff sensors, damaged wiring near the lever, or an electrical fault that appears when braking. Those issues can affect motor engagement but are separate from the hydraulic brake circuit. FixEbike can inspect the braking system alongside the electrical components that make an e-bike different from a standard bicycle.
A firm lever is only part of safe braking. Give the rotors, pads, hoses, calipers, and brake cutoff function the same attention, especially before a long commute, a delivery shift, or a ride with steep San Diego descents ahead.