
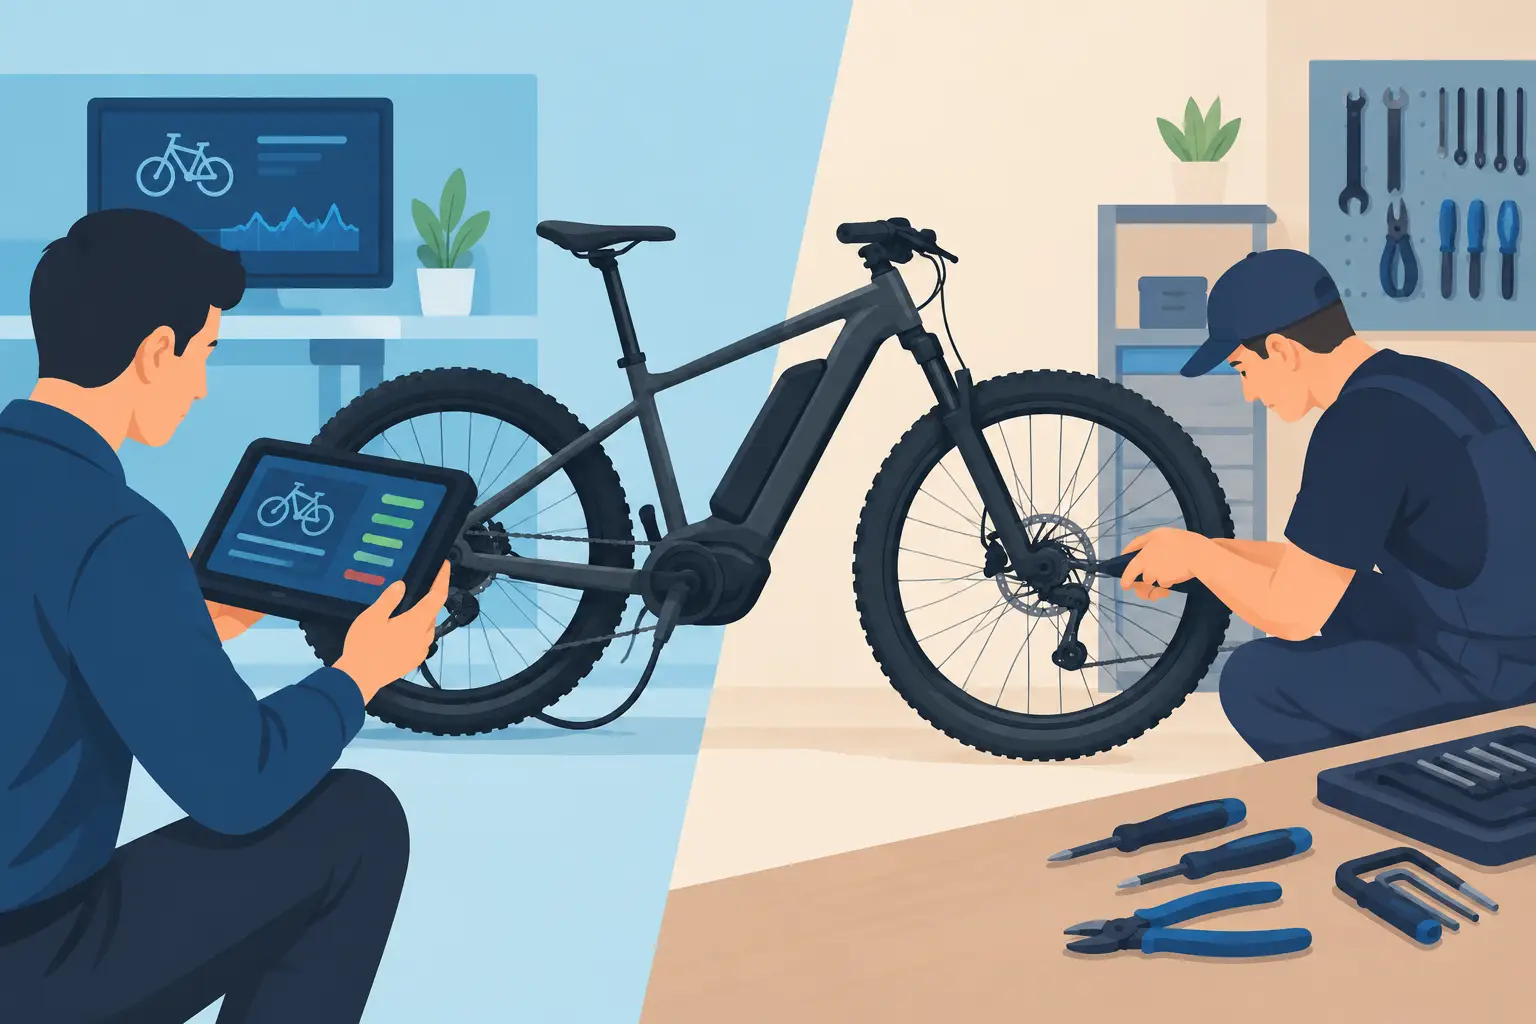
A display code can point in the right direction, but it does not always tell the whole story. In the ebike scan versus manual diagnostics question, the best answer is usually both. A scan can reveal what the system is reporting. Hands-on testing confirms whether the battery, controller, motor, wiring, or sensor is actually causing the problem.
That distinction matters when your e-bike loses power on a hill, will not charge, cuts out under load, shows an error code, or turns on with no motor assist. Replacing the part named by a code without testing the rest of the system can turn a straightforward repair into an expensive guessing game.
What an E-Bike Scan Can Tell You
An e-bike scan uses compatible diagnostic software, a manufacturer service tool, or a controller-specific interface to read information stored in the electrical system. Depending on the brand and components, it may identify active error codes, saved fault history, battery status, temperature readings, speed-sensor signals, communication faults, and controller settings.
For some systems, scan data is extremely useful. A communication error between the display and controller, for example, may be visible immediately. A battery management system may report a charging fault, an over-temperature condition, or a cell-group imbalance. Some mid-drive systems can also provide motor and sensor information that would take longer to narrow down without electronic data.
A scan is especially valuable when the bike uses a proprietary ecosystem with detailed fault reporting. It gives a technician a starting point and helps prevent wasted time checking components that the system has already ruled out.
Still, a scan reads what the bike can detect and communicate. It does not physically inspect a connector, measure voltage drop through a damaged wire, or prove that a battery can supply enough current when the motor is under real load.
Error Codes Are Clues, Not Final Answers
An error code may identify a motor hall sensor fault, but the sensor itself is not automatically bad. The issue could be a partially broken motor cable, moisture inside a connector, damaged phase wiring, a failed controller input, or corrosion at a connection point.
The same is true of a battery-related code. The code may indicate low voltage or an unavailable battery, yet the root cause could be a worn battery pack, a BMS protection event, an output fuse, a loose battery cradle contact, or a charger that is not supplying the correct voltage.
Reading the code is useful. Stopping there is where repairs go wrong.
What Manual Diagnostics Add
Manual diagnostics means testing the bike directly with the proper tools and procedures. This can include visual inspection, voltage measurements, continuity testing, connector checks, battery load testing, brake cutoff testing, motor phase and hall sensor tests, and controlled test rides.
This work answers the practical questions scan tools cannot always answer: Is the battery voltage stable under acceleration? Is power reaching the controller? Does the throttle signal change correctly? Is a brake sensor stuck in the cut-off position? Is a wire broken internally even though its outer jacket looks fine?
For hub-motor e-bikes, manual testing is often essential. A bike may run normally with the rear wheel off the ground, then sputter or shut down as soon as the rider applies real torque. That can point to a weak battery, phase-wire damage, a controller issue, or a motor fault that only appears under load. A basic scan may show no clear answer at all.
Manual testing also catches mechanical issues that feel electrical from the rider’s perspective. Dragging brake pads, a bent rotor, a seized bearing, a loose crank, or a damaged tire can reduce range, create noise, or make an e-bike feel underpowered. Electrical and mechanical systems work together, so an accurate diagnosis has to consider both.
Testing Under Load Matters
One of the most common mistakes in e-bike troubleshooting is judging a battery by its resting voltage alone. A battery can show a normal charge level while parked and still sag badly when the motor demands current. The display may flash, the motor may pulse, or the bike may shut off on a steep grade.
A technician needs to compare battery voltage at rest and under load, then inspect the battery connection, controller input, and related wiring. This process separates a weak battery from a connection problem or a motor-controller issue.
The same principle applies to charging. A charger light can turn green without proving that the pack is charging correctly. Manual checks can verify charger output, charging-port condition, battery voltage, and whether the BMS is accepting a charge.
Ebike Scan Versus Manual Diagnostics: Which Is Better?
Neither method is better in every situation. A scan is faster when the system provides clear, reliable data. Manual diagnostics are more decisive when symptoms are intermittent, component compatibility is limited, wiring has been modified, or the e-bike uses generic parts with little diagnostic access.
The most effective repair process uses scan information to narrow the field, then confirms the fault with electrical measurements and physical inspection. That approach is faster than testing every component at random and more reliable than replacing parts based on a code alone.
For example, if a scan reports a speed-sensor error, the technician can inspect the sensor alignment and wiring, verify the sensor signal, check the controller input, and test whether the display is receiving accurate speed data. If the scan shows a battery communication error, the next step is not automatically a new battery. It is checking the terminals, data pins, voltage, BMS behavior, and controller connection.
This diagnostic-first approach protects riders from unnecessary parts replacement. It also matters for e-bikes that have been stored for months, ridden through rain, transported on racks, or used daily for commuting and deliveries. Vibration, heat, water exposure, and repeated charging cycles can create failures that do not fit neatly into a single code.
When a Scan Is Usually the Right First Step
A scan is often the efficient first move when the bike has a factory display error, a known brand-specific fault code, firmware-related behavior, or a system that will not initialize because components are not communicating. It can quickly identify whether the controller sees the battery, display, motor, or sensors.
It is also useful after a repair. If a bike had a communication fault or sensor error, clearing the code and confirming that it does not return can help verify the repair before the bike goes back on the road.
But scan access varies widely. Some e-bike brands provide detailed service data, while others offer limited information. Many fat-tire, moped-style, and conversion-style e-bikes use controllers that store few useful codes, if any. On those bikes, sound electrical testing is usually the main path to an answer.
When Manual Testing Should Lead
Manual diagnostics should lead when there is visible cable damage, water intrusion, a loose battery mount, an intermittent shutdown, a no-charge condition, a burnt electrical smell, or power loss that happens only during acceleration. These symptoms often come from physical or load-related failures rather than a clean software fault.
It should also lead if the bike has aftermarket modifications. A replacement controller, non-original display, upgraded battery, added lights, or changed connectors can affect how the system communicates. Scan software may not recognize the configuration, but voltage, continuity, and signal testing can still identify the issue.
At FixEbike, the goal is not to make diagnostics look complicated. It is to identify the failed part, explain why it failed, and confirm the repair before you rely on the bike again.
What Riders Can Check Before Bringing in an E-Bike
You do not need to take electrical components apart, and you should not open a battery pack. A few safe observations can make a diagnosis quicker: note the exact display message, take a photo of any error code, describe when the issue occurs, and bring the charger and key if they are part of the system.
Pay attention to whether the problem started after a crash, heavy rain, long storage, a battery swap, or a recent repair. Also mention whether the bike works with the wheel off the ground but fails while riding. Those details help separate motor, battery, wiring, brake-sensor, and controller problems early in the process.
If your e-bike is giving you mixed signals, do not let a single error code make the repair decision for you. The right diagnosis comes from reading the system, testing the components, and following the evidence until the bike is safe and dependable to ride.