
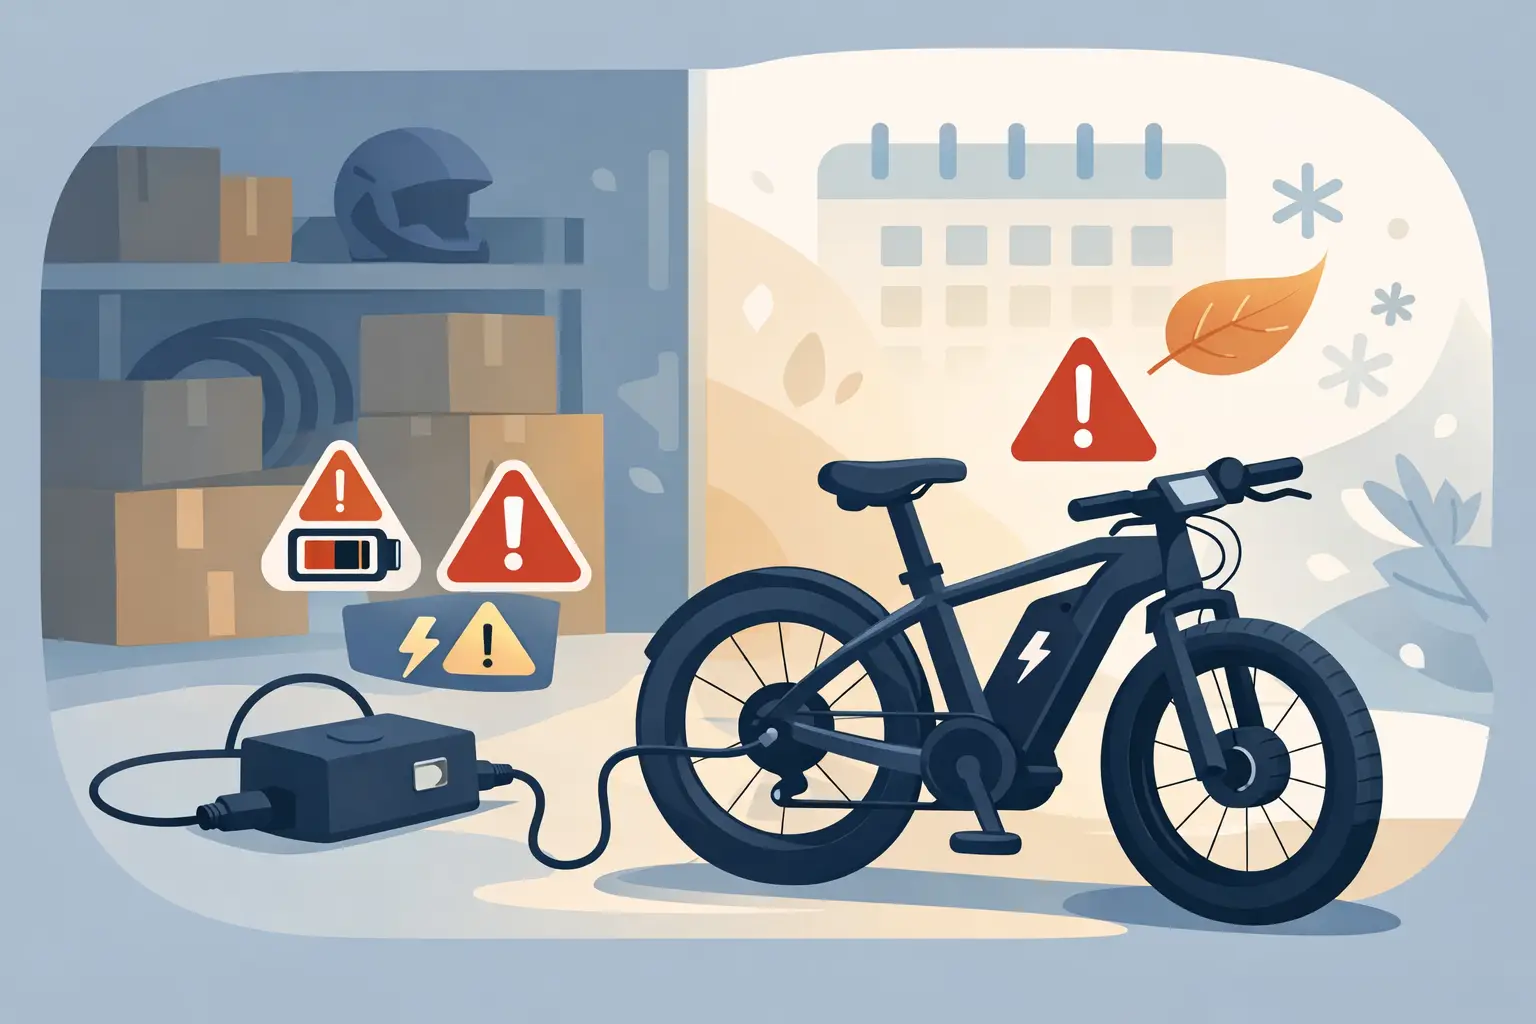
A rider pulls an e-bike out after a few quiet months, plugs it in, and gets nothing: no charger light change, no display, and no sign the battery is accepting power. If your ebike won’t charge after storage, the cause may be simple, but it can also point to a battery management system lockout, damaged charging port, failed charger, or a battery that was stored too low.
The right move is not to keep reconnecting the charger for hours or try to force power into the pack. Lithium-ion batteries need a careful diagnosis. A quick inspection can rule out basic issues, while the right technician can determine whether the fault is in the charger, battery, wiring, or e-bike itself.
Why an Ebike Won’t Charge After Storage
Storage changes the conditions inside an e-bike battery. Even when the bike is switched off, the battery management system, or BMS, may draw a small amount of standby power. Over a long enough period, especially in warm garages or sheds, the battery voltage can fall below its normal operating range.
A healthy battery stored at a partial charge usually wakes up normally. A battery left empty, near empty, or exposed to heat has a higher risk of deep discharge. When cell voltage drops too far, the BMS may block charging as a safety measure. That protection prevents unsafe charging, but it also means the battery can appear completely dead.
Not every no-charge condition is a failed battery. Chargers can fail during storage, cords can be damaged, and charging ports can corrode or loosen. On some models, the battery will not charge unless the key is in a specific position, the battery is fully seated, or the charge port cover is out of the way. The diagnosis starts by separating those possibilities instead of assuming the most expensive repair.
Start With Safe, Basic Checks
Before testing anything, bring the battery and charger indoors if they were stored in a hot, cold, or damp location. Let both reach room temperature. Do not charge a battery that is wet, swollen, cracked, leaking, unusually hot, or has a burned smell. Place it on a hard, nonflammable surface away from direct sun and anything flammable.
Check the wall outlet with another device. Then inspect the charger cable, connector, and charging port under good light. Look for bent pins, green or white corrosion, dirt packed into the port, melted plastic, or a connector that feels loose. Do not scrape contacts with metal tools or spray cleaner into a live charging port.
Most chargers have one or two indicator lights. The exact colors vary by brand, but a light can offer useful clues. A charger with no light at all may not be receiving AC power or may have failed internally. A charger that stays green when connected may not be making contact with the battery. A charger that immediately goes dark, flashes, or becomes abnormally warm can indicate a short, a damaged connector, or a battery-side problem.
If the battery is removable, remove and reinstall it carefully. Confirm that it locks fully into the mounting cradle and that the battery terminals are clean and dry. A battery that is slightly unseated can power the display intermittently or refuse to charge altogether.
What Not to Do With a Stored Battery
The internet is full of shortcuts for “waking up” lithium batteries. Some are risky, and none are a substitute for checking battery condition and BMS operation.
Do not use a random charger with the same-looking plug. Voltage, polarity, connector size, and charging profile all matter. A 48V battery typically requires a charger with a higher output voltage than a 36V battery, and a mismatch can damage components or create a fire risk.
Do not bypass the BMS, open a shrink-wrapped battery case, jump terminals, or connect a second battery to force a charge. Those methods can defeat the protections designed to prevent cell damage, overheating, and thermal runaway. If a battery has gone into low-voltage protection, a technician should test cell-group voltage, BMS function, charge-port wiring, and charger output before deciding whether recovery is appropriate.
Also avoid leaving the charger connected unattended overnight in hopes that the battery will eventually respond. If normal charging does not begin within a reasonable period, repeated attempts do not fix a physical fault.
The Most Common Faults We Find
A charger failure is often the easiest repair. Chargers can be damaged by power surges, kinked cables, moisture, or strain at the connector. Testing the charger’s DC output with the proper equipment quickly confirms whether it is delivering the correct voltage.
A damaged charge port is another common issue. The port may be mounted directly to the battery case or built into the frame, depending on the bike. Loose solder joints, broken port leads, corrosion, and bent center pins can stop charging even when the battery cells are healthy. This is particularly common on bikes that were stored outside or transported frequently.
Battery-side issues require more detailed testing. A deep-discharge event can leave one or more cell groups below the BMS cutoff. Sometimes the cells are recoverable; sometimes their capacity and safety margin are no longer acceptable. Age also matters. A battery that was already losing range before storage may be near the end of its service life, and the storage period simply exposed the problem.
The BMS itself can fail, too. It monitors individual cell groups, manages charge and discharge paths, and protects the pack from overcurrent and temperature problems. A failed BMS may prevent charging even when the cells still have usable voltage. That is why a battery that appears dead should not automatically be replaced without testing.
In less common cases, the battery charges normally off the bike but the e-bike still will not power up. That points toward the battery cradle, main wiring harness, fuse, controller, display, or ignition circuit rather than the charger. Moped-style and fat-tire e-bikes often have more connections and accessory wiring, creating more places for a voltage drop or poor connection to develop.
When Professional Diagnosis Is Worth It
Schedule service if the charger light behaves abnormally, the battery has been unused for several months, the bike was stored in heat or moisture, or the charge port shows any damage. Bring the bike, battery, key, and original charger if possible. Testing the complete system avoids guessing and helps identify faults that only appear when components are connected together.
At FixEbike, a charging diagnosis can include charger output verification, battery voltage checks, BMS assessment, port and wiring inspection, fuse testing, and checks for controller or display communication issues. The goal is to identify the failed component first, whether that means a charger replacement, charge-port repair, battery repair, or a wider electrical-system fix.
Store the Battery So It Starts Next Time
For planned storage longer than a few weeks, do not put the battery away fully charged or fully drained. A moderate charge level, often around 40% to 70%, is generally easier on lithium-ion cells. The exact recommendation can vary by manufacturer, so follow the battery manual when available.
Store the pack in a dry indoor location with moderate temperatures. A climate-controlled room is better than a hot garage, vehicle, shed, or covered patio. Remove it from the bike if the manufacturer permits it, especially if the bike will be exposed to temperature swings or humidity.
Check the battery periodically during long storage. A brief inspection every month or two can catch a falling charge level before the pack reaches deep-discharge territory. Keep the terminals covered or protected from dust, and avoid stacking heavy items on the battery or charger cables.
A battery that refuses to charge after storage is not always finished, but it does deserve a careful response. Start with the safe checks, stop if you see damage or unusual heat, and get the electrical system tested before a small charging problem turns into a bigger one.