
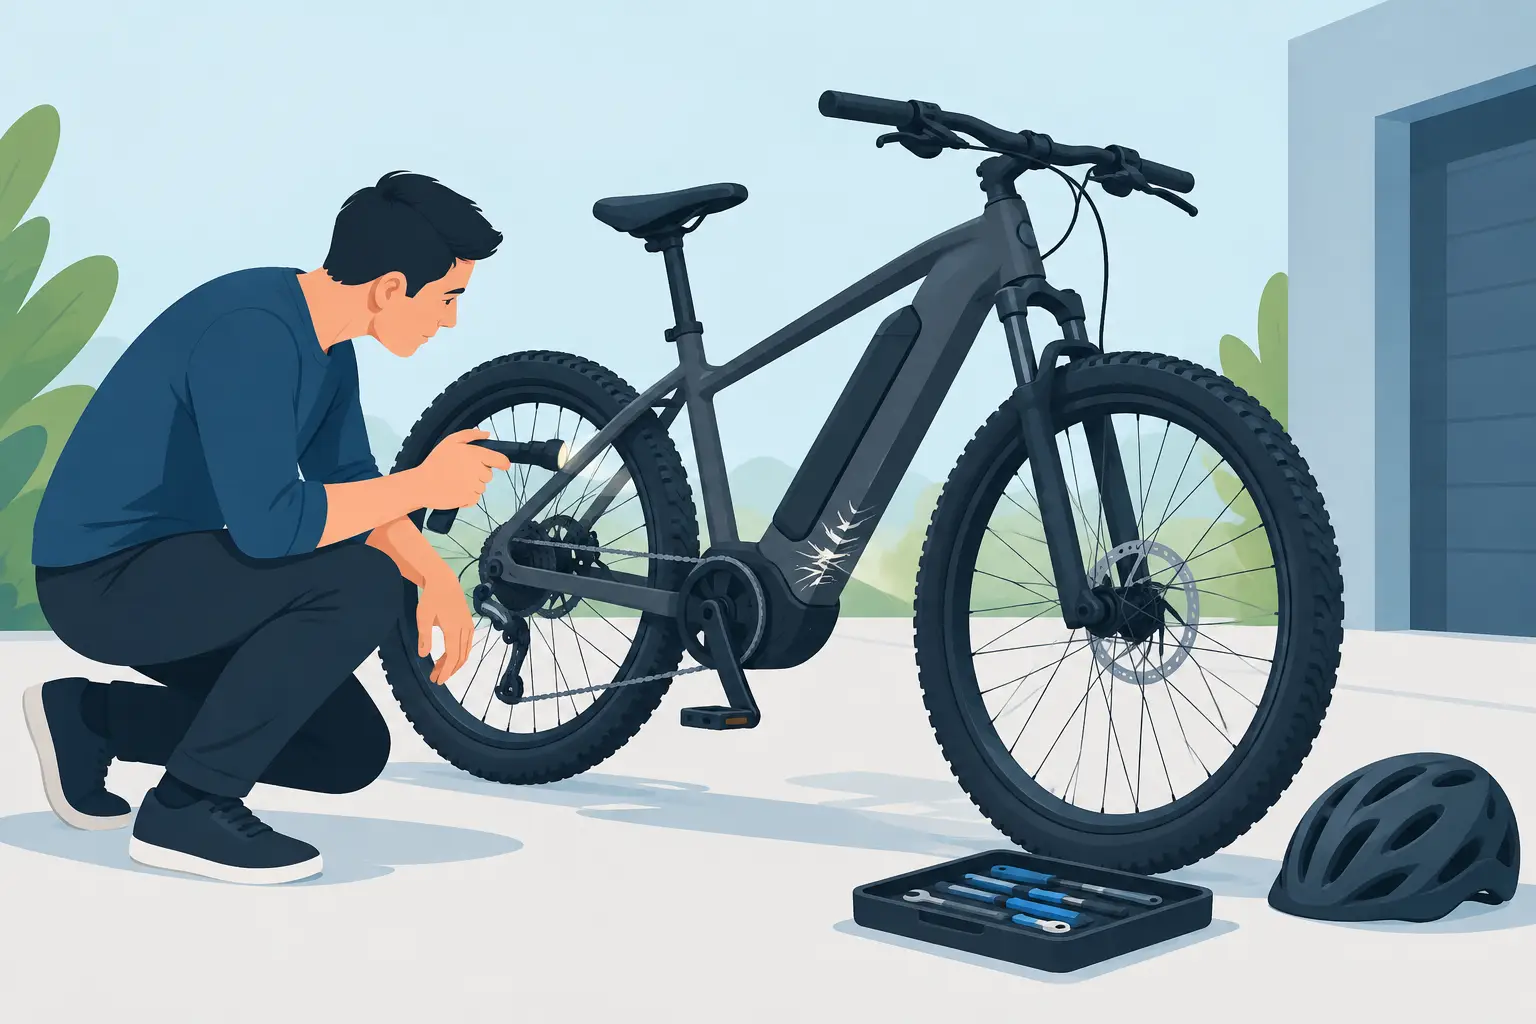
A low-speed fall can leave an e-bike looking almost fine while a damaged connector, bent brake rotor, or stressed battery case creates a serious problem on the next ride. An ebike crash inspection is not just about checking scratches. It is about finding the faults that can affect stopping power, steering, motor assistance, and battery safety before you get back on San Diego roads, bike paths, or trails.
If you hit a curb, slide out, get clipped in traffic, or drop a heavy fat-tire or moped-style e-bike, stop riding until you have checked the bike carefully. The harder the impact and the faster you were traveling, the more likely there is damage beyond what you can see at a glance.
Start With Safety, Not a Test Ride
Do not plug in or charge the battery immediately after a crash. A battery that took a direct hit, was crushed, or has a cracked case needs to be treated cautiously. Lithium-ion cells and the battery management system can be damaged internally even when the pack still turns on.
Move the bike to a dry, nonflammable area away from direct sunlight and anything that could burn. If the battery is hot, swollen, leaking, smells sweet or chemical-like, makes hissing sounds, or has smoke coming from it, keep clear and contact local emergency services. Do not attempt to open the pack, tape a cracked enclosure, or continue charging it to see whether it works.
If the battery appears normal, remove it from the bike if it can be removed without forcing anything. Look at the mounting rail, locking mechanism, discharge terminals, and charging port. A battery that can shift in its cradle, has bent terminals, or no longer locks securely should not be used until repaired or replaced.
Ebike Crash Inspection: Check the Structure First
A bike can be unsafe even if its electrical system powers up normally. Start with the frame, fork, handlebar, wheels, and contact points that absorbed the impact. Clean off dirt so you can see the surface clearly.
Look for obvious cracks, deep gouges, peeling paint around a weld, crushed tubing, or a section of frame that no longer looks straight. Pay close attention to the head tube, fork crown, handlebars, stem, rear dropouts, battery mounting area, and the welds around the motor mounts. On folding e-bikes, inspect the hinge, latch, and surrounding frame area particularly closely. A damaged hinge or latch is not a cosmetic issue.
Carbon fiber frames need special caution after an impact. Cracks can be difficult to see, and a soft area, splintering, or unusual surface ripple can indicate structural damage. Do not assume a carbon component is safe because it has no visible break.
Next, lift the front wheel slightly and turn the bars from side to side. Steering should feel smooth, with no binding, grinding, looseness, or notch in the center. Hold the front brake and rock the bike forward and backward. A clicking sensation or movement at the headset may mean the headset needs adjustment, but it can also point to damage after a harder impact.
Wheels, Tires, and Brakes Can Hide Crash Damage
A wheel does not need to be completely bent to cause trouble. Spin each wheel and watch the rim or tire clearance at the fork and frame. A side-to-side wobble, hop, rubbing tire, or rotor that pulses through the brake caliper deserves attention. A bent rim may also put uneven stress on spokes and lead to a broken spoke later.
Inspect the tire sidewalls and tread for cuts, bulges, embedded debris, or a tire bead that has pulled away from the rim. Check the axle area as well. Quick-release levers, thru-axles, axle nuts, and torque arms must be secure. This is especially critical on hub-motor e-bikes, where axle movement can damage the dropout and pull on the motor cable.
Brakes should be checked before any powered ride. Squeeze both levers firmly. They should not pull all the way to the grip, feel spongy, or stick after release. On hydraulic brakes, inspect the hose and fittings for fluid seepage. On mechanical brakes, check that the cable housing is not crushed and that the cable moves freely.
A rotor may look straight but still be slightly warped enough to rub, pulse, or reduce braking consistency. If the bike landed on a brake lever or caliper, the caliper mount, lever body, and brake sensor wiring also need inspection. Many e-bikes use brake cutoff sensors that tell the controller to stop motor power when you pull the lever. Damage here can cause an assist system to stay engaged, cut out unexpectedly, or display an error.
Inspect the Electrical System Before Applying Power
Crash damage often shows up where wiring enters or exits a component. Follow the visible harness from the battery to the controller, display, motor, lights, and brake levers. Look for pinched insulation, exposed copper, loose plugs, stretched cables, and connectors that have been pulled partly apart.
Do not force a connector back together if its pins are bent. Misaligned pins can cause poor connection, short circuits, or communication faults. The same applies to a display that is tilted or cracked after the impact. A display may still light up while its internal mount, connector, or control buttons have been damaged.
Hub motor cables deserve a close look near the axle. This is a common point for impact and strain damage. A torn motor cable can affect phase wires or hall sensor wires, leading to rough running, loss of power, intermittent operation, error codes, or a motor that will not start at all.
Once the visual inspection is complete and the battery is known to be undamaged, power the bike on while it is supported safely. Do not start by riding it. Check that the display boots normally, battery level is believable, lights work, and no error code appears. Lift the drive wheel off the ground before testing throttle or pedal assist, and keep hands, clothing, and cables clear of the spinning wheel.
Listen for grinding, clicking, vibration, or a wheel that starts and stops unevenly. Those symptoms can come from a damaged motor, controller, hall sensor circuit, brake cutoff input, or wiring connection. A crash can also loosen a controller inside its compartment, where it may rattle, pinch wires, or lose heat transfer.
When a Short Ride Is Reasonable
A cautious test ride is only reasonable if the frame and fork show no damage, wheels are secure, brakes function correctly, the battery and wiring are intact, and the system starts without errors. Begin in a flat, traffic-free area at low speed. Do not test full throttle, high assist, steep hills, or fast descents right away.
Pay attention to steering pull, brake noise, drivetrain skipping, a new vibration, delayed motor engagement, power cutting out, or a battery gauge that drops unexpectedly. Stop immediately if anything feels different from before the crash. An e-bike’s extra weight and acceleration can turn a small unresolved issue into another fall.
Some problems only appear under load. A connector may pass a no-load test but lose contact when the bike hits bumps. A cracked battery mount may hold the pack in place on level ground but allow movement over rough pavement. That is why a clean-looking bike is not always a cleared bike.
When to Bring It in for Professional Diagnosis
A shop inspection is the right call after a direct hit to the battery, motor, fork, frame, or wheel, even if the bike still rides. It is also worthwhile when the bike has a new error code, reduced range, intermittent power, a nonworking display, brake cutoff trouble, a rubbing rotor, or unexplained noise.
At FixEbike, a proper post-crash evaluation can include mechanical inspection along with electrical diagnostics for battery output, charging behavior, controller function, motor wiring, hall sensors, and component communication. The goal is not to replace parts blindly. It is to identify the actual fault and separate a simple adjustment from damage that should not be ridden.
Keep the crash details in mind when you bring the bike in. Knowing which side hit the ground, whether the battery struck first, whether the motor wheel took the impact, and what changed afterward helps narrow the diagnostic process. Photos from the scene can help too.
A scratched pedal or torn grip is easy to live with. A loose axle, damaged battery enclosure, cracked fork, or intermittent motor cable is not. Give the bike the inspection it needs now, and your next ride can be about getting where you are going instead of wondering what will fail first.