
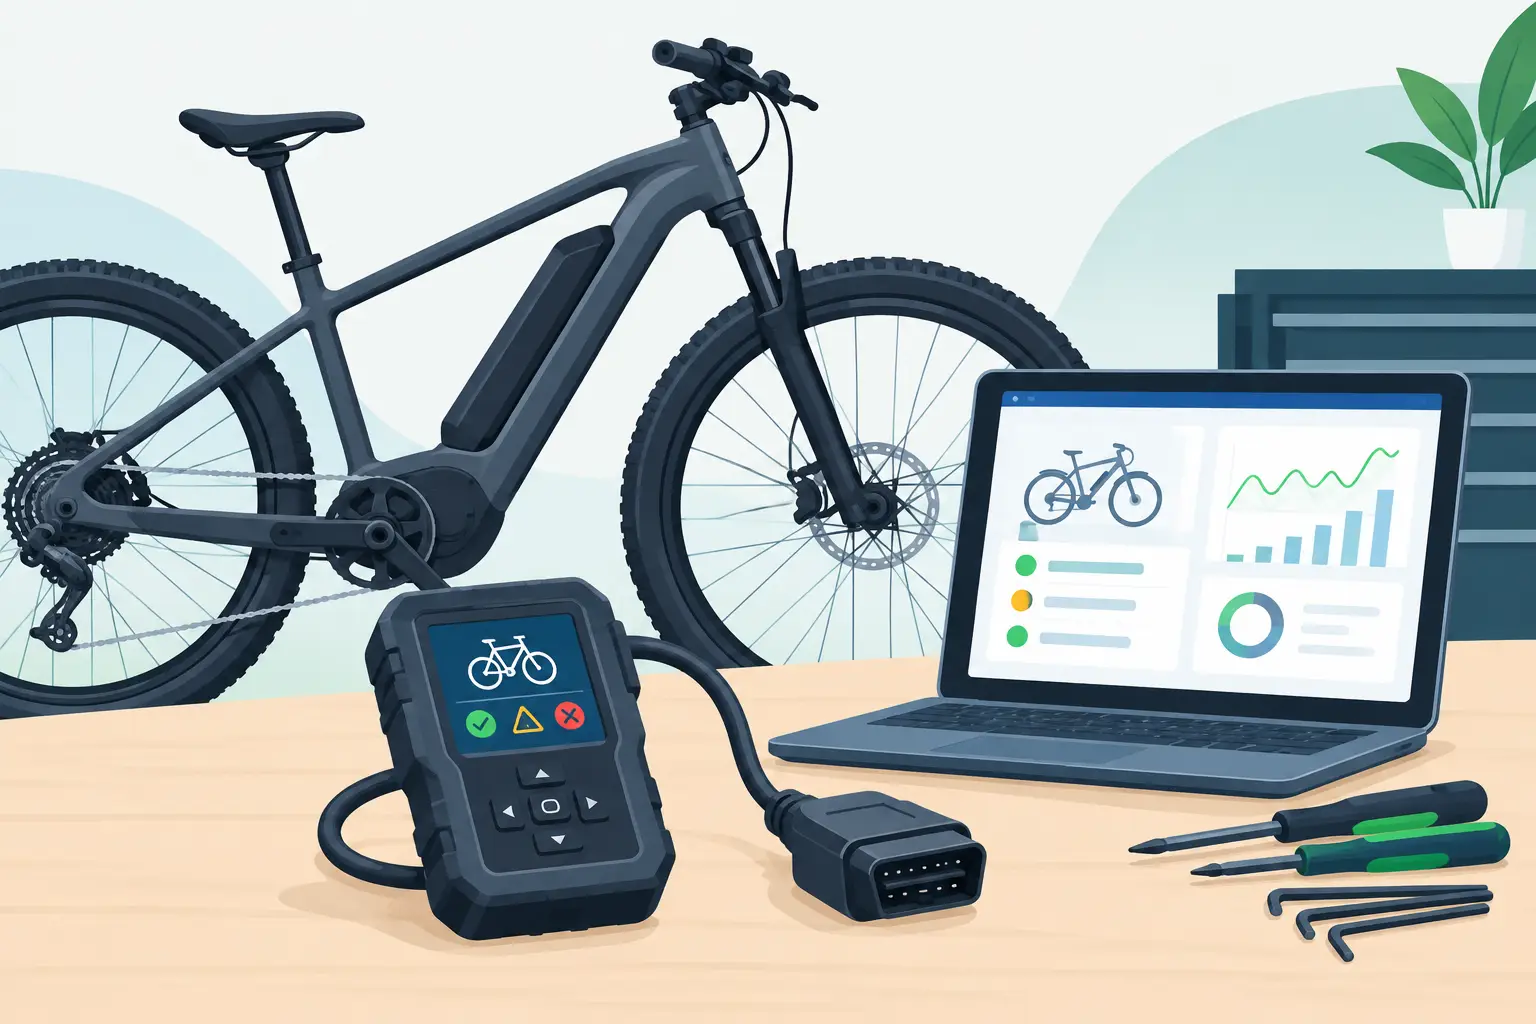
A display that turns on but shows no assist. A battery that says it is full, then cuts out under a hill climb. A hub motor that shudders, hums, or suddenly loses power. These problems can look alike from the rider’s seat, but they do not have the same cause. The best ebike diagnostic tools help separate a weak battery from a controller fault, damaged wiring, failed hall sensors, or a simple connector problem before money is spent on the wrong part.
For many owners, a few basic tools are enough to confirm an obvious issue. For intermittent power loss, communication errors, and internal battery or motor faults, proper testing requires more specialized equipment and experience. The goal is not to collect every gadget. It is to use the right tool in the right order.
Best Ebike Diagnostic Tools for Real Repairs
A useful diagnostic setup starts with measurements, not guesses. Voltage, continuity, resistance, current draw, and error codes all tell part of the story. No single tester can reliably diagnose every e-bike, especially when brands use different connectors, controller protocols, and battery management systems.
A quality digital multimeter
A digital multimeter is the first tool we reach for on most electrical e-bike problems. It checks battery voltage, charger output, broken wires, blown fuses, brake-cutoff switches, throttle signals, and connector continuity. It can also help identify voltage drop between the battery and controller.
For e-bike work, choose a meter with DC voltage, resistance, continuity, and diode test functions. Auto-ranging is convenient, but clear leads and solid probes matter just as much. Cheap meters can be fine for checking whether a charger is producing voltage. They are less dependable when you need to find an intermittent connection or a small voltage difference under load.
A multimeter does have limits. Seeing normal battery voltage at rest does not prove that the battery can deliver enough current while riding. Likewise, continuity may show that a wire is connected while missing a problem caused by corrosion, heat damage, or a loose terminal that only fails when the bike vibrates.
A battery load tester and charger tester
Battery problems are among the most commonly misdiagnosed e-bike issues. A pack may charge to the expected voltage and still shut down on acceleration because one weak cell group triggers the BMS, or because the pack has excessive voltage sag.
A charger tester checks whether the charger reaches its proper output voltage. This is a quick, worthwhile test when a battery will not charge. A battery load tester goes further by applying a controlled load and showing how the pack voltage behaves. That matters because a 48V battery that reads healthy while sitting still can collapse when power demand rises.
The trade-off is safety and usefulness. Generic load testers are not always designed for the voltage and current levels of large e-bike batteries. Testing a lithium-ion pack incorrectly can damage the battery, wiring, or tester. Internal battery work should be left to a technician with insulated equipment, a controlled workspace, and the ability to evaluate the BMS and individual cell groups.
Controller and display scan tools
Some e-bike systems provide valuable error information through a display, service app, or brand-specific diagnostic cable. These tools may show fault codes, battery data, motor status, sensor readings, firmware information, and communication errors between the controller and display.
They are especially useful on integrated commuter e-bikes and name-brand systems with supported software. But compatibility is everything. A cable that fits the connector may not communicate with the controller, and an app can display a generic code without identifying the failed component. A code for a motor fault, for example, may be caused by the motor, hall sensor wiring, controller, or a connector with water intrusion.
Before buying a scan tool, confirm the exact motor system, controller model, display model, connector type, and supported protocol. Owners of many moped-style and fat-tire e-bikes will find that a multimeter and careful physical inspection reveal more than a generic app can.
A motor tester for hub motors and hall sensors
Hub motor testers are useful when a bike has jerky operation, a growling motor, poor low-speed torque, or no motor movement despite a charged battery. Depending on the tester, it can check hall sensor switching, phase connections, throttle output, and controller signals.
This tool can save time when working on a direct-drive or geared hub motor, but results need to be interpreted carefully. A failed hall test may point to damaged hall sensors inside the motor, but it can also be caused by a break in the motor cable near the axle. That section of cable is a frequent trouble spot because it bends, rubs, and can be pinched during wheel removal.
A motor tester is less useful for proprietary mid-drive systems, where the motor, controller, and firmware may be integrated. In those cases, manufacturer-specific diagnostics and system knowledge are often more valuable than a universal tester.
An oscilloscope for difficult electrical faults
An oscilloscope is not a first purchase for the average e-bike owner, but it is one of the best tools for advanced diagnosis. It shows changing electrical signals over time, which helps identify intermittent hall sensor signals, unstable throttle output, controller switching issues, and noisy communication lines.
This is the kind of tool that earns its place when a bike fails only under load, after warming up, or over bumps. A multimeter gives a snapshot. An oscilloscope can reveal what happens during the failure itself.
The downside is that it requires training. Incorrect probing can create a short or lead to misleading results. For complex motor and controller problems, this is usually shop-level equipment rather than a practical DIY solution.
Supporting Tools That Prevent Wrong Diagnoses
Electrical testers work best when paired with careful inspection tools. A bright work light, magnifier, contact cleaner approved for electrical use, and small picks can reveal bent pins, moisture, melted plastic, and green corrosion inside connectors. These issues are common near battery mounts, rear hub motor cables, controller boxes, and folding-bike hinges.
A thermal camera can also be valuable for advanced work. Excess heat can point to a high-resistance connector, damaged phase wire, failing controller, or overloaded component. It is not required for routine troubleshooting, but it can shorten diagnosis when a fault appears only after several minutes of riding.
Do not overlook mechanical checks. A dragging brake, low tire pressure, loose cassette, damaged freewheel, or seized wheel bearing can feel like an electrical power problem. A complete diagnosis considers both the power system and the bike underneath it.
A Practical E-Bike Diagnostic Order
Start with the simple checks. Confirm that the battery is seated and locked, the display powers on, and all visible connectors are fully engaged. Look for damaged insulation, pinched cables, discoloration, water intrusion, or a connector that has been forced together crooked.
Next, verify charger output and battery voltage with a multimeter. Then check for brake cutoff activation, as a stuck brake sensor can disable motor assist while leaving the display working normally. If the bike still has a fault, test wiring continuity and inspect the motor cable where it exits the axle or frame.
Only after these checks should you suspect expensive parts such as the battery, controller, or motor. Replacing components one at a time without measurements gets costly fast and can leave the original problem untouched.
When to Bring the Bike to a Repair Shop
Stop DIY testing if the battery is swollen, hot, leaking, smells unusual, has damaged casing, or repeatedly shuts down under load. Do not open a lithium-ion battery pack without proper training and safety equipment. The same caution applies to melted connectors, exposed phase wires, and controller housings with signs of water damage.
Professional diagnosis is also the better route when the fault is intermittent, the motor stutters, the bike shows a persistent error code, or multiple components may be involved. At FixEbike, the diagnostic process is built around confirming the root cause before recommending repair, whether that means battery testing, hall sensor checks, controller evaluation, wiring repair, or a mechanical service that restores normal performance.
The right tool is the one that answers the next question without creating another problem. If your e-bike is giving you mixed signals, document when the fault happens, whether it occurs under load, and what the display shows. That information makes the path to a reliable repair much clearer.