
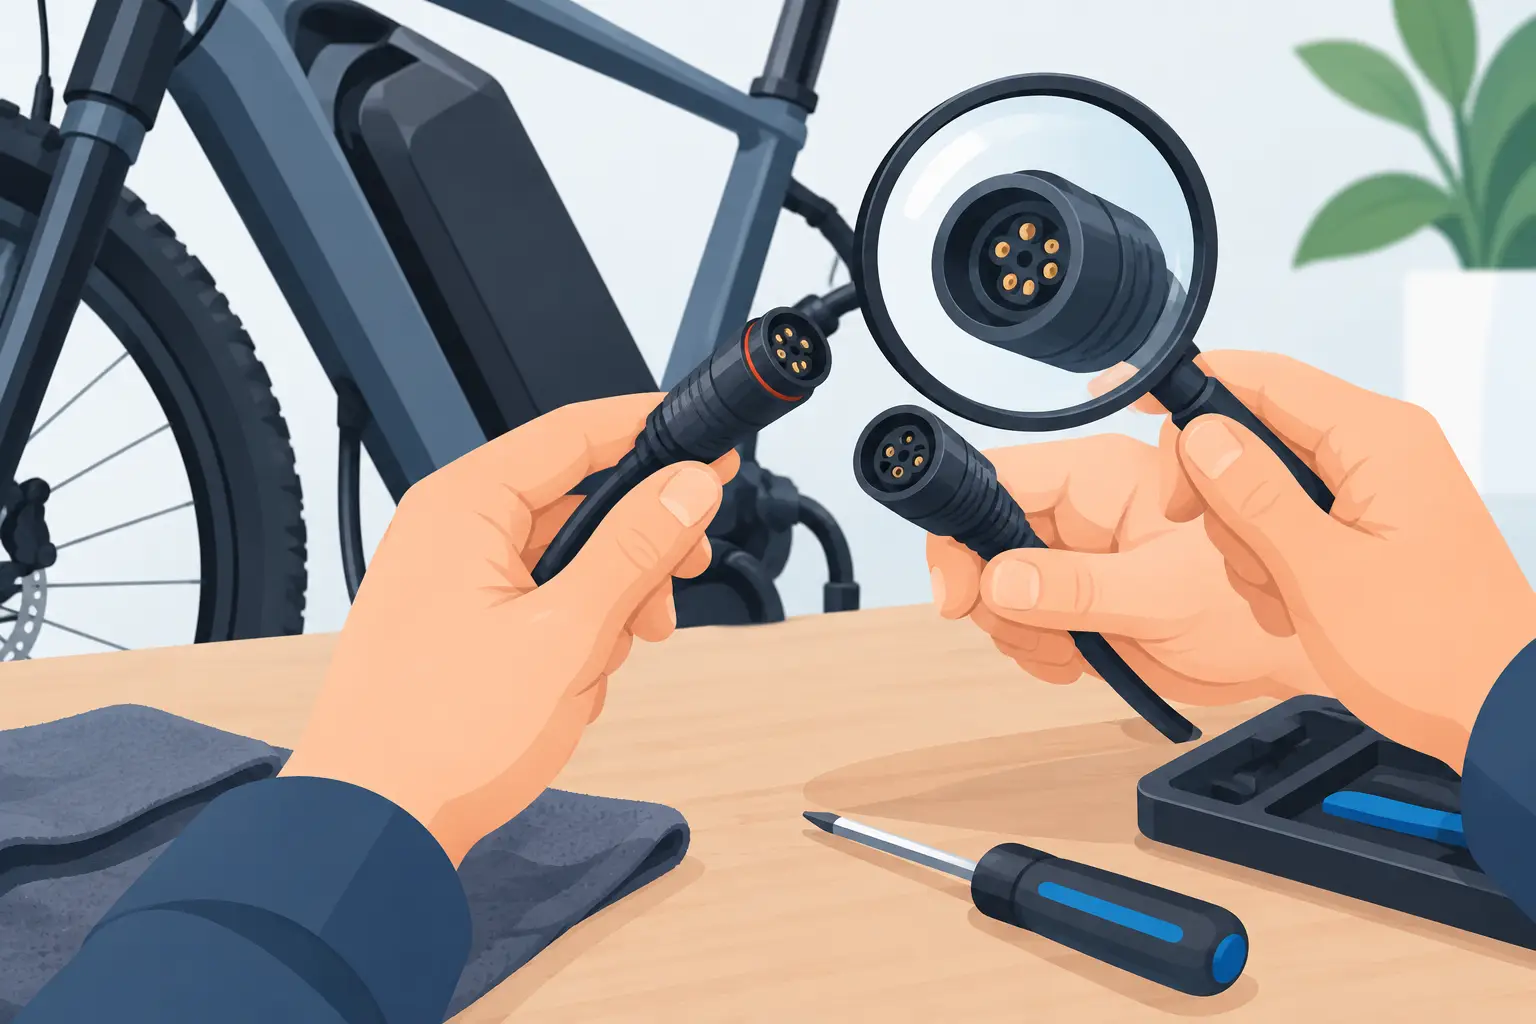
A connector can look plugged in and still be the reason your e-bike will not charge, loses power under load, throws a display error, or cuts out over bumps. Knowing how to inspect ebike connectors gives you a practical first check before a minor wiring issue turns into a damaged controller, battery connection, or motor harness.
Most connectors are reliable when they stay dry, fully seated, and protected from strain. Problems start when a bike is stored outdoors, ridden in rain, pressure-washed, crashed, modified, or repeatedly folded. San Diego riders also see connector issues after beach-area rides, where salty air and fine grit can work their way into exposed connections over time.
Start With Electrical Safety
Do not inspect or reconnect e-bike wiring while the system is live. Turn the display off first, remove the battery if it is removable, and unplug the charger. If the battery is internal, switch the bike off and wait a few minutes before handling connectors. Some controllers hold a small residual charge, so patience is safer than rushing.
Never insert a screwdriver, paper clip, or random metal object into a connector. That can bridge terminals, damage delicate female sockets, or create a short circuit. Avoid pulling on wires to separate a connection. Hold the connector housing itself, then pull straight apart with gentle, even pressure.
A basic inspection needs good lighting, a clean dry cloth, and possibly a small flashlight. If you are comfortable using a multimeter, it can help confirm continuity and voltage later, but visual inspection comes first. Testing voltage at the wrong pins can cause more damage than it finds.
Find the Connectors Most Likely to Cause Trouble
E-bikes use several different connector styles. Larger high-current connections usually carry battery power or motor phase power. Smaller multi-pin connectors often carry hall sensor signals, display communication, throttle input, brake cutoff signals, lights, or speed sensor data.
Start with the areas that move, flex, or sit closest to water and road debris. On many commuter and fat-tire e-bikes, that means the battery tray terminals, the cable bundle near the handlebar, the motor cable where it exits the axle, and the wiring junction near the controller. Folding bikes deserve extra attention around the frame hinge and stem because cables can be pinched or repeatedly bent there.
Look at the connector before you unplug it. A connector that is sitting crooked, has a visible gap, or has a wire pulled partly out of its housing is already giving you useful information. Take a photo of complex wire routing before separating anything, especially if several identical plugs sit near the controller.
How to Inspect Ebike Connectors Step by Step
Once the battery is disconnected, separate one connector at a time. Many waterproof round connectors have alignment arrows, grooves, or keyed shapes. Do not twist a connector aggressively or force it in a direction it was not designed to go. Forcing a keyed plug can bend pins or crack the internal seal.
First, inspect the outside of the housing. Check for cracks, swelling, melted plastic, missing caps, or a boot that has slid back and exposed the wire entry point. A damaged outer housing is not always an immediate electrical failure, but it gives moisture and movement a path into the connection.
Next, inspect the pins and sockets using a flashlight. Pins should be straight, evenly spaced, and clean. Female sockets should have consistent openings and should not look spread apart, collapsed, or pushed deep into the housing. On many connectors, one recessed socket compared with the others indicates a terminal that has backed out of position.
Pay attention to color and residue. Green or blue-green buildup usually points to copper corrosion. White residue can be oxidation or dried moisture contamination. Dark brown or black discoloration is more serious because it often indicates heat from high resistance. If you see melted plastic, a burned smell, or blackened terminals at a battery, controller, or motor connection, stop using the bike until it is properly diagnosed.
Then check the wire side of the connector. Each wire should enter the housing firmly with insulation intact. Look for cuts, flattened sections, stretched insulation, exposed copper, or a wire that turns sharply right at the connector body. Gently flex the cable a short distance behind the connector. You are not trying to pull it apart. You are looking for a wire that feels unusually loose, crunchy, or broken internally.
With the connector still unplugged, check the seal and mating surfaces. Waterproof connectors depend on clean contact faces and intact rubber seals. Dirt, sand, and dried mud can prevent a connection from seating fully. Wipe loose debris away with a dry, lint-free cloth. For light grime, use a small amount of electronics-safe contact cleaner and allow the connection to dry completely before reconnecting it.
Do not soak connectors in lubricant, household cleaner, or water-displacing spray. Some products leave residue that attracts grit or affects plastics and rubber seals. If corrosion is heavy, a terminal is burned, or a pin is bent, cleaning alone is not a reliable repair. The connector may need replacement, and the cause of overheating needs to be found.
Reconnect Without Creating a New Problem
Before reconnecting, line up the keyways, arrows, or indexing marks. Push the two halves together straight and firmly until they are fully seated. A waterproof connector should sit evenly, without a visible gap. Do not force it. If it will not seat easily, remove it, inspect alignment again, and check for a bent pin or debris.
After reconnecting, make sure the cable has enough slack for steering, suspension movement, or folding. A harness pulled tight can work loose over time or fracture inside the insulation. On handlebar wiring, turn the bars fully left and right while watching the cable bundle. Nothing should snag, pinch, or become stretched.
Reinstall the battery only after all inspected connectors are dry, seated, and routed safely. Power the bike on and check the basic functions that relate to the connection you inspected. If you worked near the display harness, confirm the display stays on while turning the handlebars. If you checked a brake sensor plug, verify the motor engages and cuts off normally. If you inspected the motor cable, test the bike carefully with the wheel off the ground or during a short low-speed ride.
Match the Symptom to the Connection
Connector problems can imitate failed components, which is why a symptom-based check matters. A bike that shuts off when hitting bumps may have a loose battery terminal, battery cradle connection, or main power plug. A display that flickers when steering often points to a stressed handlebar harness or display connector.
Intermittent motor operation can come from a motor cable, hall sensor connector, phase connection, brake cutoff plug, controller fault, or damaged wiring inside the motor axle. It depends on the system. A burned phase connector may cause rough running, reduced power, vibration, or a hot smell. A damaged hall sensor connection may cause the motor to jerk, run poorly from a stop, or fail to run at all.
Charging issues also require caution. Inspect the charge port for dirt, looseness, bent center pins, or heat marks, but do not open the battery pack or attempt to bypass the battery management system. A charge failure can involve the charger, port, fuse, BMS, cell group, or battery wiring. The connector is only one part of the diagnostic path.
When a Visual Check Is Not Enough
A connector can pass a visual inspection while still having internal resistance, a broken conductor under the insulation, or weak terminal tension. This is common on high-mileage delivery bikes and e-bikes that have been ridden hard on rough roads. The connection may work with no load, then fail when the motor draws higher current on a hill.
Professional diagnostics can test voltage drop under load, verify controller output, check hall sensor signals, inspect phase wiring, and isolate communication faults between the battery, controller, and display. These tests identify whether the connector is the actual failure point or simply where the symptom appears.
If you find scorched terminals, water inside a harness, a loose battery connection, repeated error codes, or power loss that returns after reconnecting a plug, avoid continuing to ride until the cause is checked. At FixEbike, connector inspection is part of a diagnostic-first process because replacing a visible plug without addressing the heat, strain, or water intrusion behind it can lead to the same failure again.
A clean, fully seated connector is a small detail, but it protects the parts that cost far more to repair. Check the connections after a hard ride, heavy rain, transport on a rack, or any crash, and treat heat damage as a warning sign rather than something to ride through.