
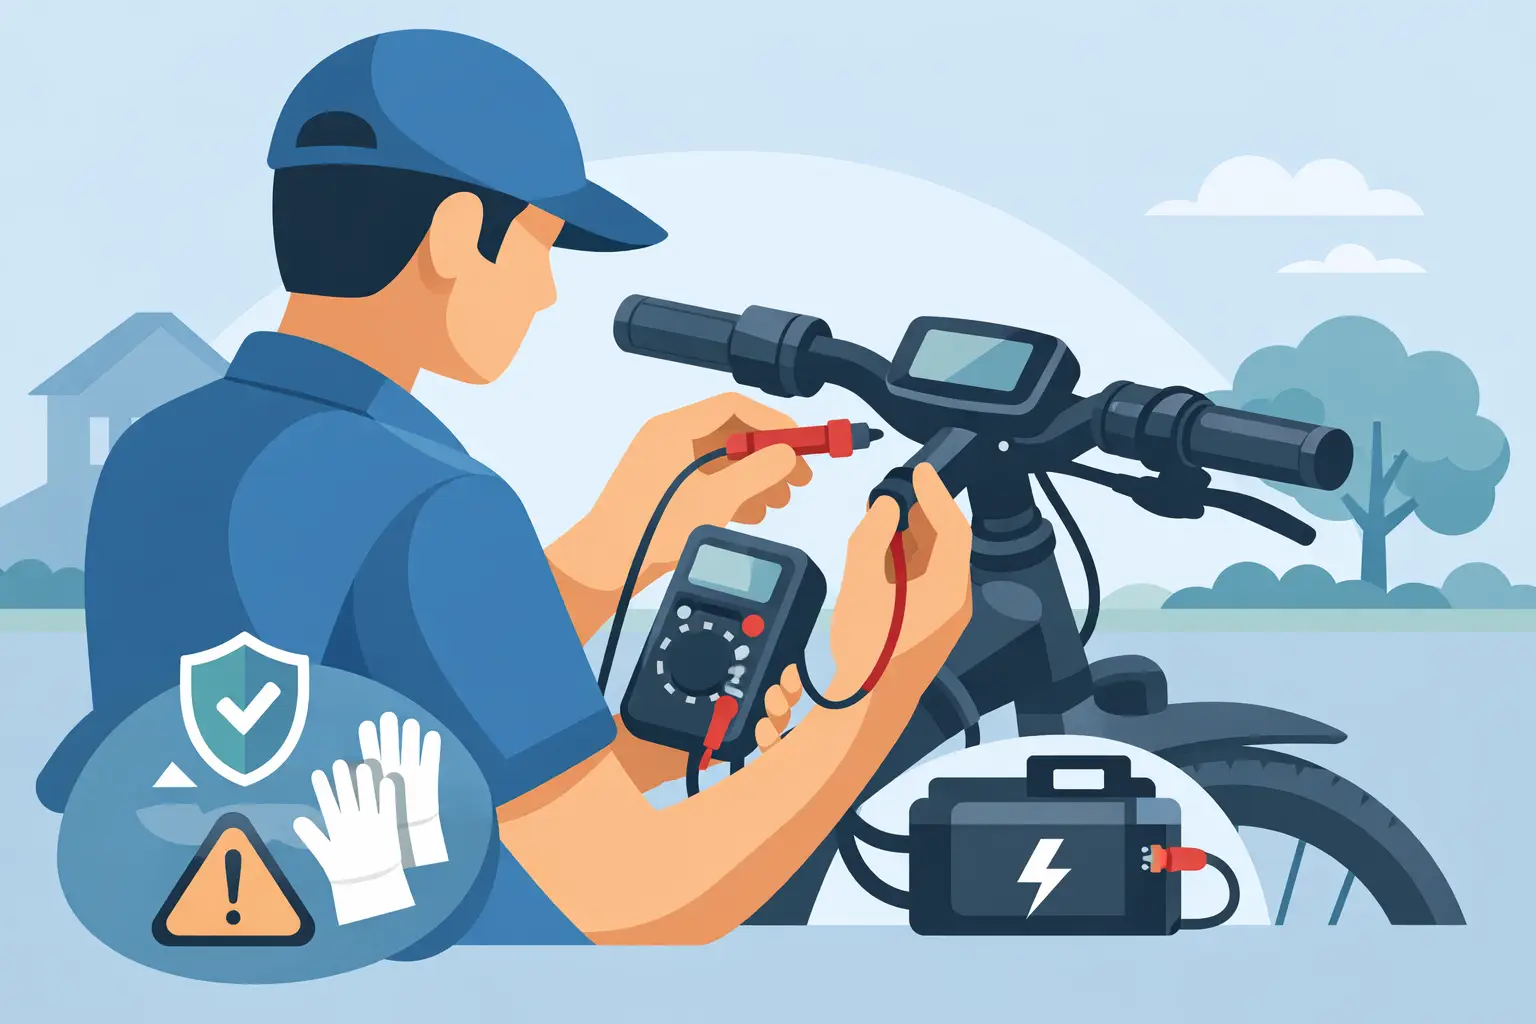
A throttle that suddenly does nothing can feel like a motor failure, especially when the display turns on and the battery shows a normal charge. Before replacing parts, learning how to test ebike throttle operation can help narrow the problem to the throttle itself, its wiring, the controller, or a safety cutoff such as a brake sensor.
Most e-bike throttles are simple three-wire devices, but testing them requires care. A live e-bike battery can deliver enough current to damage wiring, a controller, or a multimeter probe if terminals are shorted together. Work with the rear wheel lifted off the ground, keep loose clothing away from the tire and drivetrain, and do not force meter probes into small connectors.
Start With the Simple Checks
Before using a multimeter, inspect the obvious failure points. Make sure the battery is charged, fully seated, and switched on if it has a separate power button. Turn the bike on and check whether the display shows an error code, battery warning, or brake indicator.
Look closely at the throttle cable from the handlebar to the controller. On commuter, fat-tire, and moped-style e-bikes, this wire often gets pulled tight near the steering head or pinched under a cover. A damaged outer jacket, crushed connector, green corrosion, or a connector that is only partly seated can interrupt the throttle signal.
Also test the brake levers. Many e-bikes disable motor power whenever the controller sees a brake cutoff signal. A stuck brake sensor can make a perfectly good throttle appear dead. If the motor will not run from either pedal assist or throttle, the problem is less likely to be the throttle alone.
Understand the Typical Throttle Wires
A standard hall-effect throttle usually has three wires: a 5-volt reference wire, a ground wire, and a signal wire. Wire colors are commonly red for 5 volts, black for ground, and green, white, or blue for signal. However, colors are not universal, especially on aftermarket bikes, scooters, and replacement harnesses.
Do not assume colors match from one side of a connector to the other. Confirm the connector layout or trace the wiring when possible. Some throttles have additional wires for a battery indicator, key switch, or power button. Those added wires do not necessarily affect the basic throttle signal test.
A working throttle does not send full battery voltage to the controller. Instead, it changes a low-voltage signal. At rest, the signal is typically around 0.8 to 1.0 volts. At full throttle, it commonly rises to roughly 3.6 to 4.2 volts. The exact number depends on the controller and throttle design, but the voltage should climb smoothly as you turn or press the throttle.
How to Test Ebike Throttle Voltage With a Multimeter
You will need a digital multimeter with DC voltage capability and ideally thin back-probe pins. Back-probing means touching the metal terminal from the rear of the connected plug rather than unplugging the throttle. This lets you test the circuit while it is powered and under normal conditions.
Set the meter to DC volts in a range that can read 5 volts. With the bike off, secure it so the drive wheel is clear of the ground. Turn the bike on only when your probes are ready and stable.
Check for the 5-Volt Reference
Place the black meter probe on the suspected ground wire terminal and the red probe on the suspected 5-volt wire terminal. Turn on the e-bike. A healthy controller supply should read close to 5 volts, often between 4.3 and 5.1 volts.
If there is no 5-volt supply, do not replace the throttle yet. The issue may be a broken wire, disconnected harness, failed controller, water damage, or a controller that is not powering up correctly. Check the throttle connector, main harness, controller connections, battery voltage, and any visible fuse before moving further.
Check the Signal Voltage
Keep the black probe on ground and move the red probe to the throttle signal wire. With the throttle released, note the voltage. Then slowly operate the throttle through its full range.
A good throttle generally starts near 1 volt and rises progressively toward 4 volts. It should not jump around, fall out, or remain fixed at one number while the throttle moves. On a thumb throttle, move the lever slowly. On a twist throttle, rotate it slowly several times while watching the meter.
If the voltage stays near zero, stays near 5 volts, or does not change, the throttle or its signal wiring is likely faulty. Test again while gently moving the throttle cable near the handlebar and steering tube. An intermittent reading often points to a broken conductor inside the cable rather than a failed throttle sensor.
What a Normal Reading Does Not Prove
A smooth throttle signal confirms that the throttle is producing a plausible command, but it does not prove the motor system will respond. The controller must receive that signal, accept it, and send power to the motor. A controller fault, brake cutoff input, communication error, motor hall sensor issue, damaged phase wiring, or low battery voltage under load can still prevent acceleration.
That distinction matters. Replacing a throttle because it has a normal 1-to-4-volt sweep usually wastes time and money.
Test the Throttle at the Controller Connector
If the throttle reads incorrectly at the handlebar connector, inspect that plug first. If it reads correctly there but the bike still does not respond, test the matching throttle wires where they enter the controller. This is especially useful on e-bikes with a long frame harness or integrated wiring routed through the frame.
A proper signal at the handlebar but no signal at the controller means there is an open or damaged wire between those two points. A proper signal at the controller with no motor response shifts attention toward the controller inputs, brake cutoff circuit, display settings, battery supply, or motor system.
Be careful around controller compartments. They can contain exposed battery terminals carrying 36, 48, or 52 volts. Never probe randomly, bridge pins with a screwdriver, or use a paper clip as a test lead. One accidental short can burn a trace, blow a fuse, or damage the controller.
Rule Out Common No-Throttle Causes
Several conditions can block throttle power even when the throttle tests normally. Check these before ordering a replacement part:
- A brake lever sensor stuck in the active position can command the controller to disable the motor.
- Some displays have a throttle setting that is disabled, limited, or active only after pedaling.
- A low battery may power the display but sag below the controller’s operating threshold when the motor is commanded.
- A controller error can leave the 5-volt reference present while refusing to drive the motor.
- Loose phase wires, failed motor hall sensors, or a damaged hub motor can stop motor operation after a valid throttle command.
- Water intrusion in a connector can create intermittent throttle, brake, display, and motor faults that change with vibration or weather.
If pedal assist works but the throttle does not, the throttle circuit, display setting, or controller throttle input is the most likely area to investigate. If the throttle works but pedal assist does not, look instead at the pedal-assist sensor, magnet disc, display configuration, or related wiring.
When a Bench Test Helps
A bench test can confirm whether a removed throttle produces a changing signal, but it requires a regulated 5-volt supply and a clear understanding of the connector pinout. It is useful for experienced technicians, particularly when diagnosing a loose throttle assembly or comparing a suspect throttle with a known-good unit.
For most riders, testing the throttle while connected to the bike is safer and more informative. It verifies the controller’s 5-volt reference, the throttle output, and the harness condition in one process. A stand-alone throttle can pass a bench test but still fail once installed because of a damaged connector or wire farther down the bike.
Know When to Stop Testing
Stop if you find melted insulation, a hot controller, a burned connector, battery swelling, a strong electrical odor, or water inside the controller compartment. Those symptoms can indicate a higher-current fault that goes beyond a throttle diagnosis.
Likewise, avoid bypassing brake sensors or jumping controller wires as a permanent fix. Those shortcuts may make the motor run, but they can remove a safety feature or damage electronics. The right repair is identifying why the controller is receiving an incorrect input, not forcing it to ignore one.
For San Diego riders dealing with an intermittent throttle, an error code, or a bike that powers on but will not move, FixEbike can trace the signal from the handlebar through the harness, controller, battery system, and motor. A clear voltage test is a useful first clue, but the best repair comes from following that clue to the actual failed component.